What is Inventor
Inventor is a computer program which can be used to design properly proportioned digital 3D objects. With this program you can create any shape imaginable using hundreds of different tools and techniques. Inventor allows designers to draw a basic shape, add dimensions, and extrude, with many possible ways to manipulate the 3D object. From rounding edges to punching holes Inventor can do it all and much more. Inventor is also connected or compatible with many other programs such as maker bot, where your 3D objects can be prepared for 3D printing.
Widgets

Sketch 1 Sketch 2
widget 1
|
widget 2
|
widget 3
|
widget 4
|
widget 5
|
widget 6
|
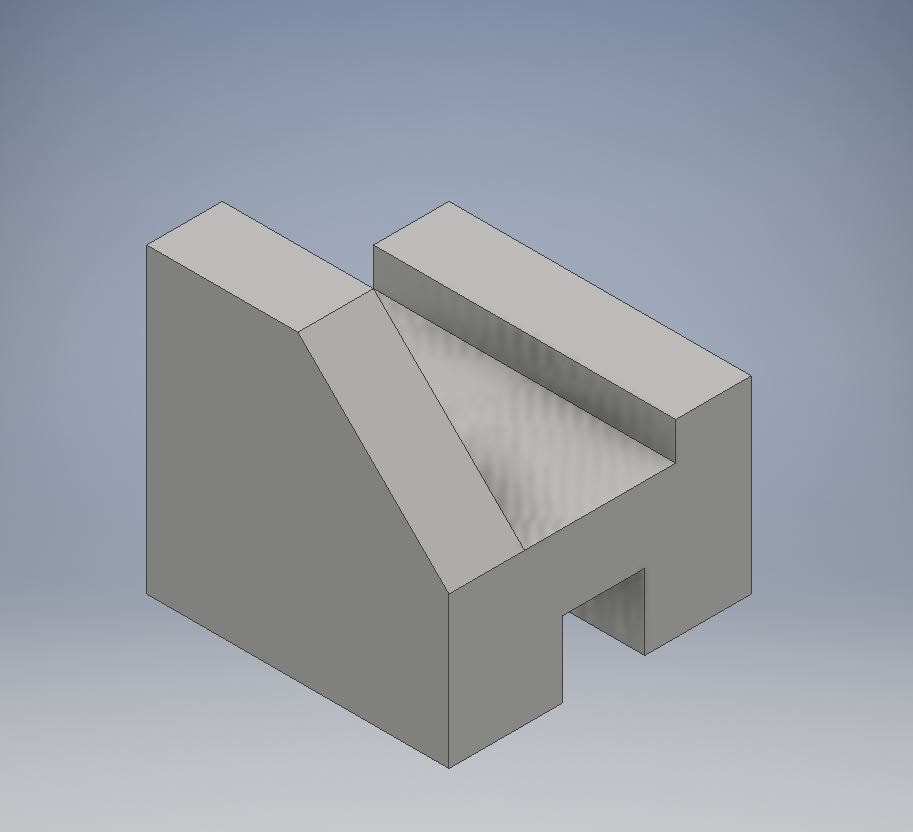
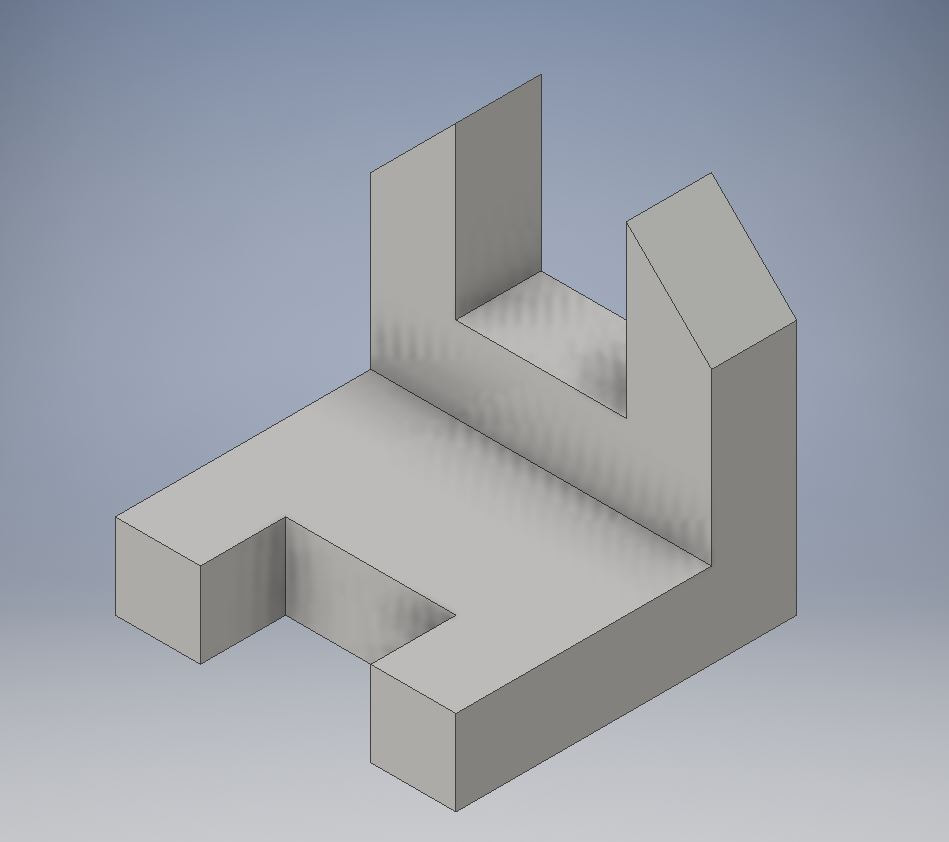
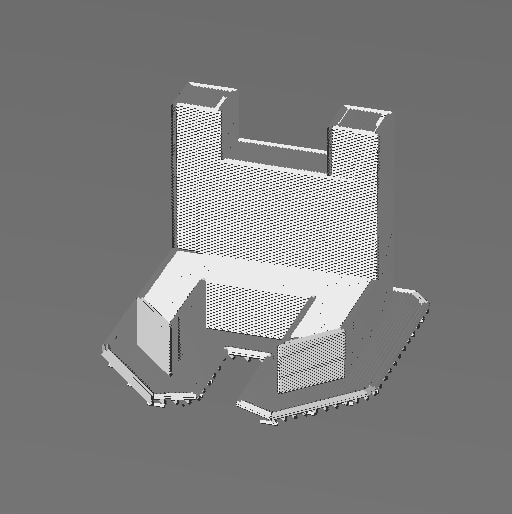
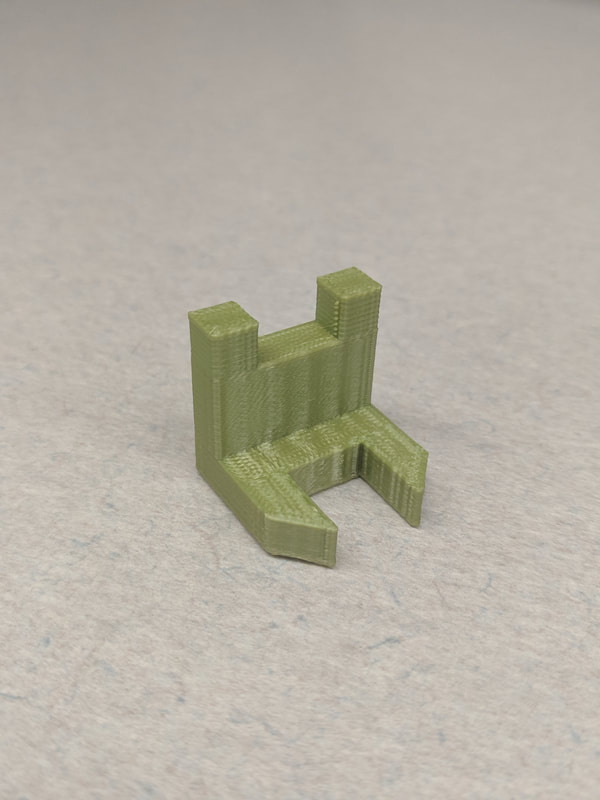
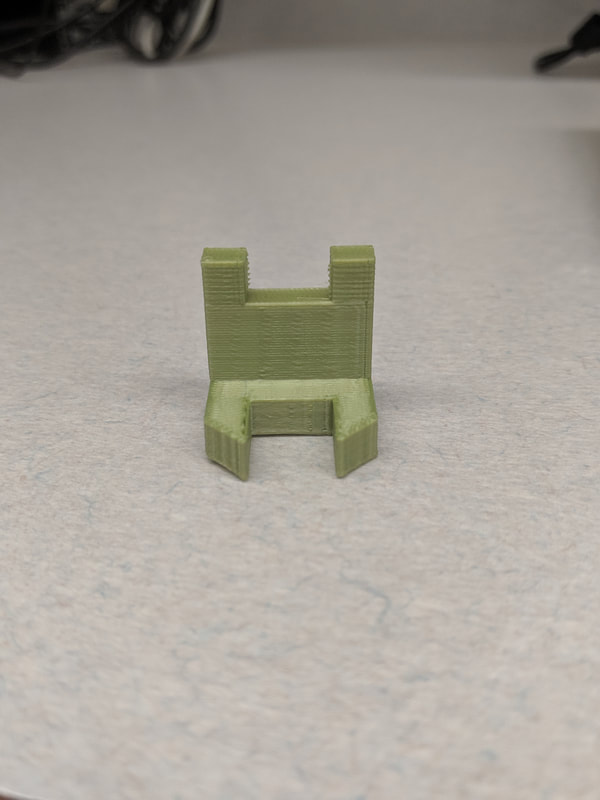
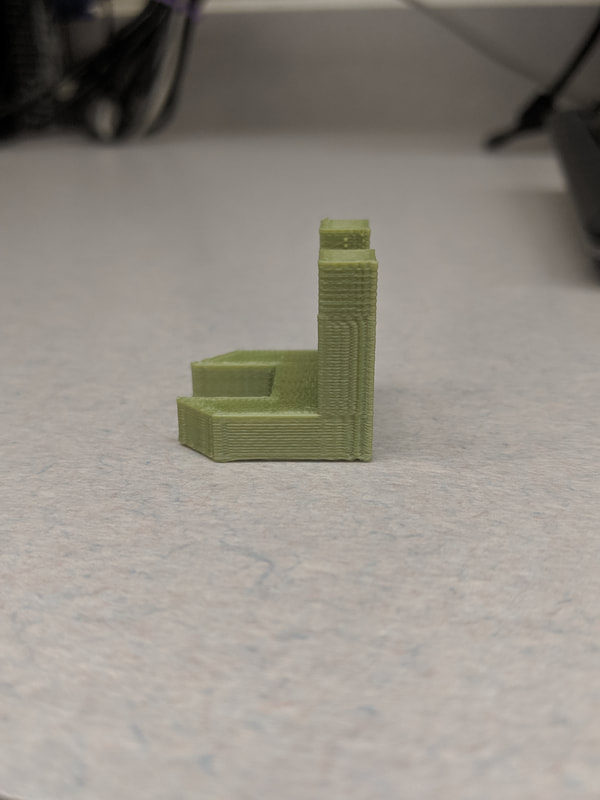
Widget 6 Process
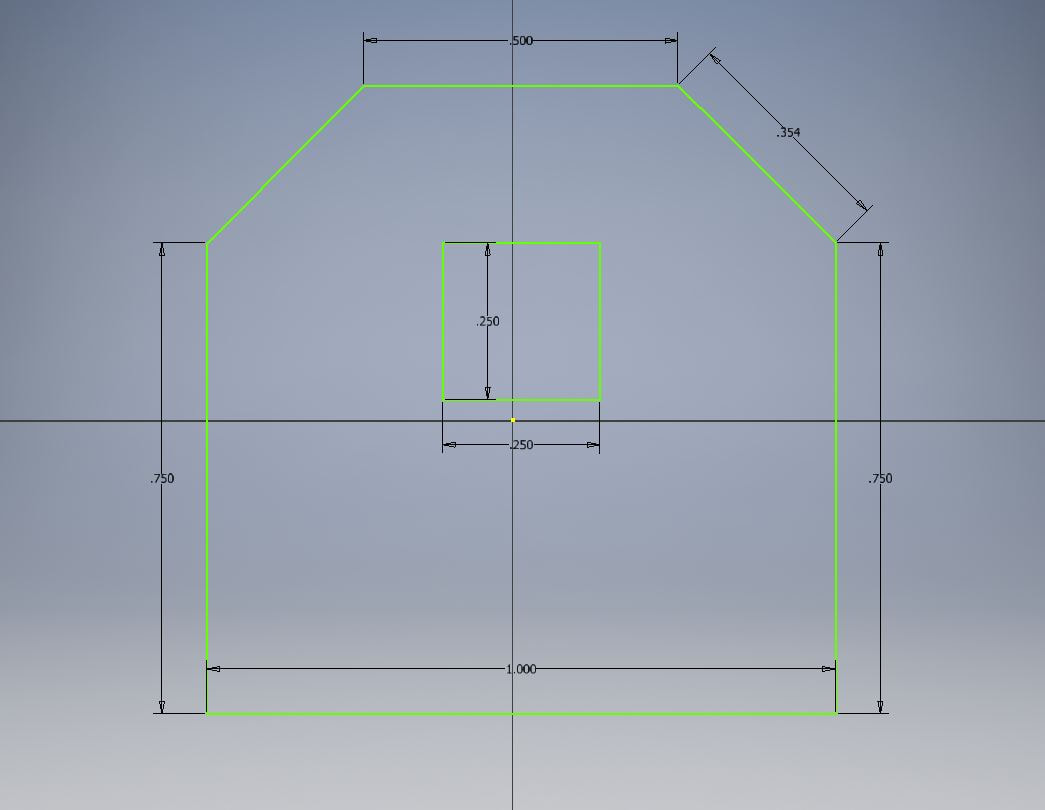
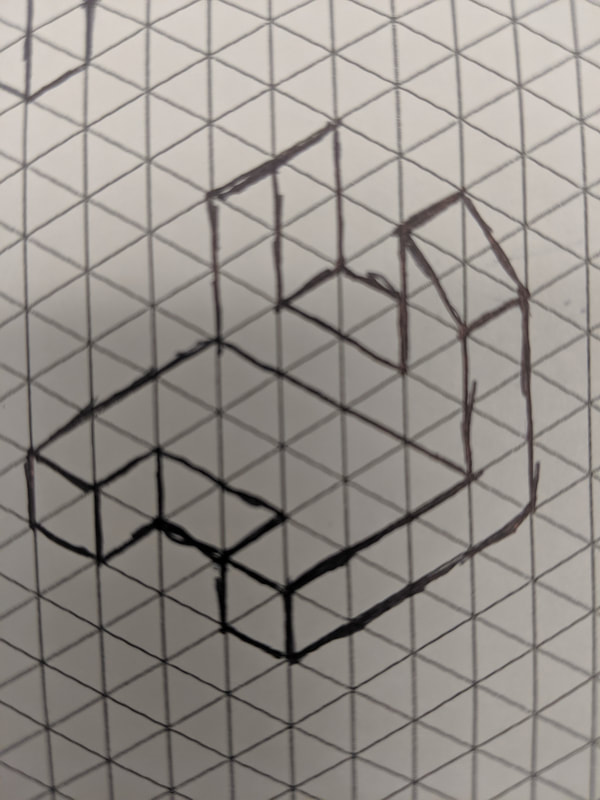
Step 1. Draw out the basic shape based on the example sheet, then dimension out the lines.
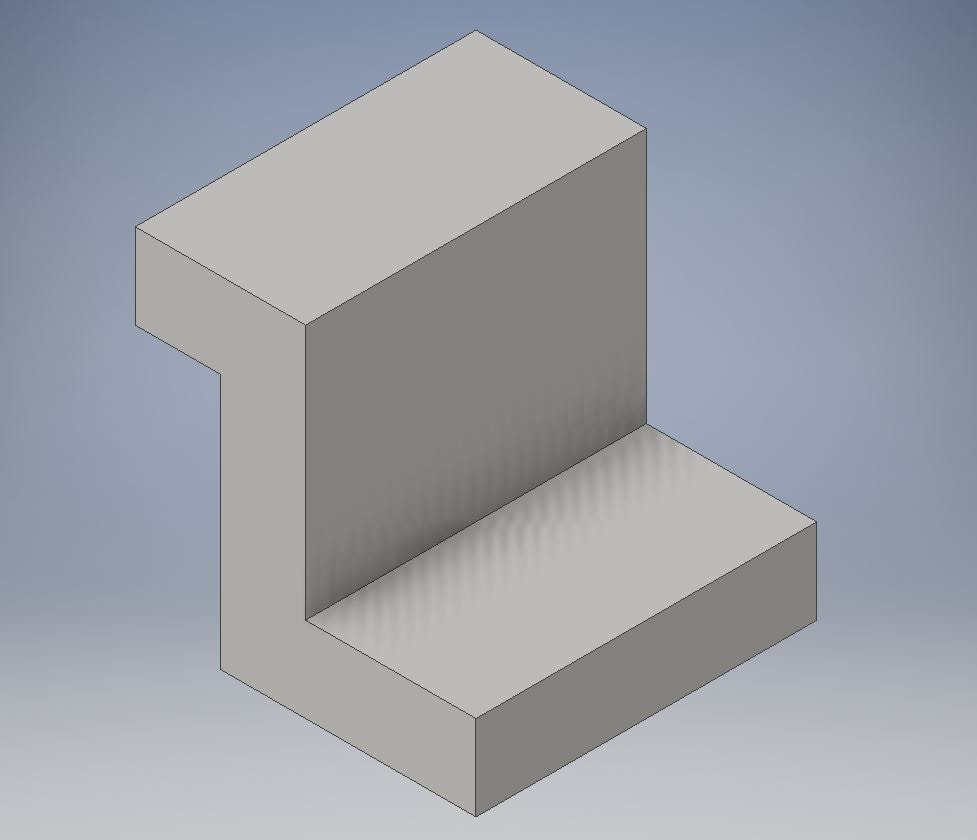
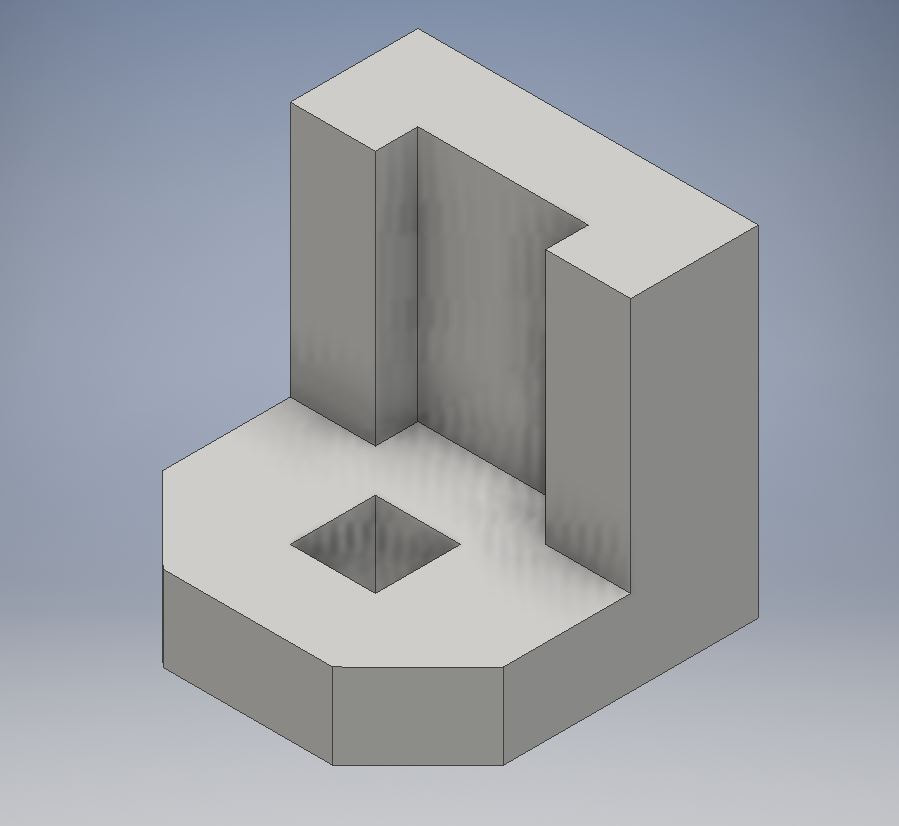
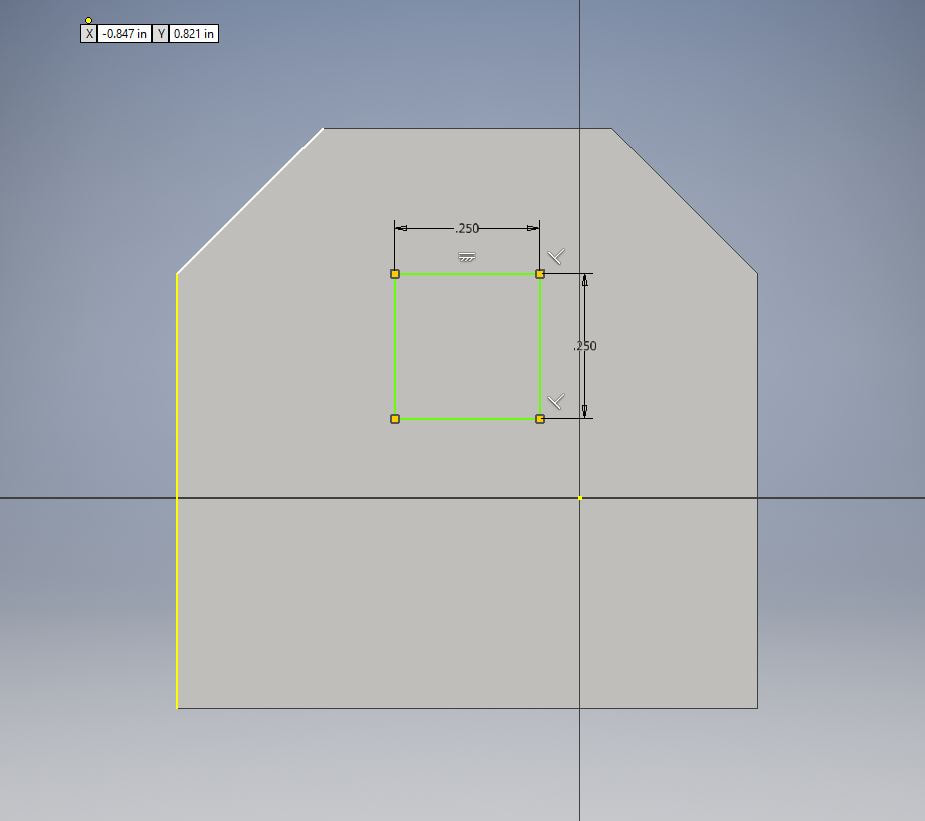
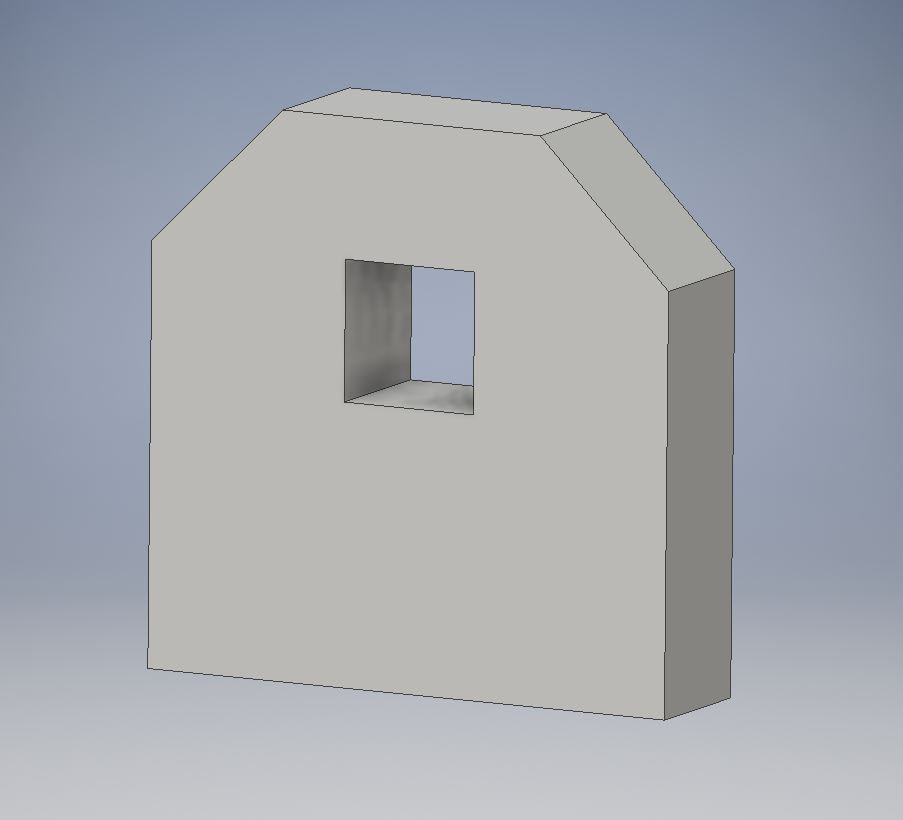
Step 2. Extrude the basic shape, then draw out the hole in the center of the shape.
Step 3. Cut out the hole in the shape by extruding inside.
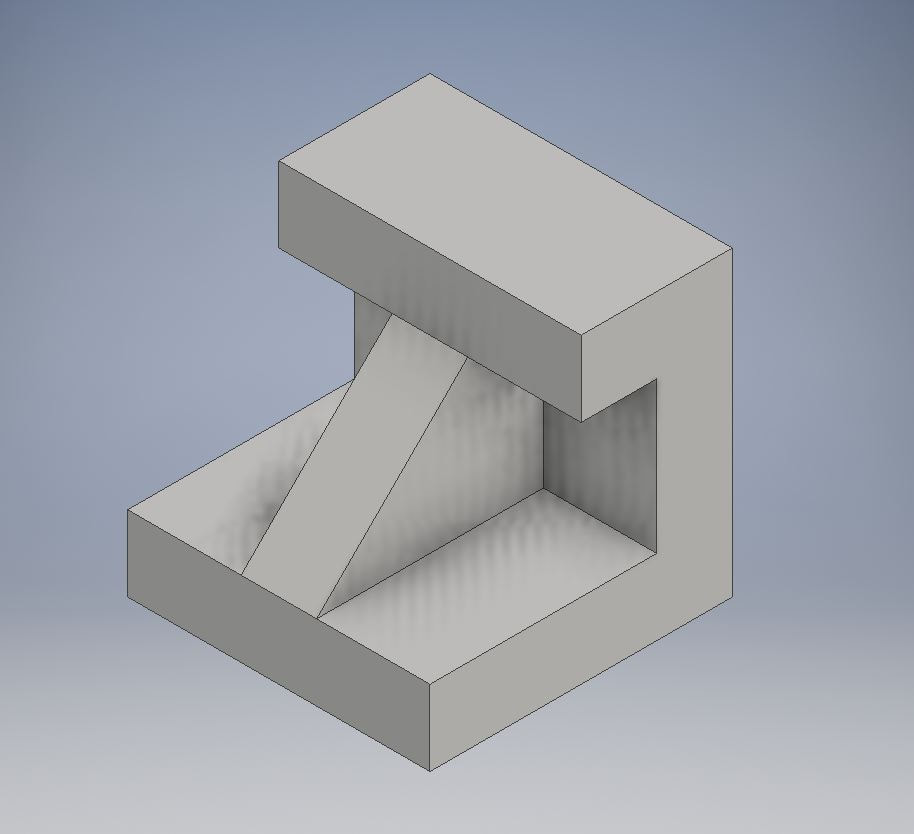
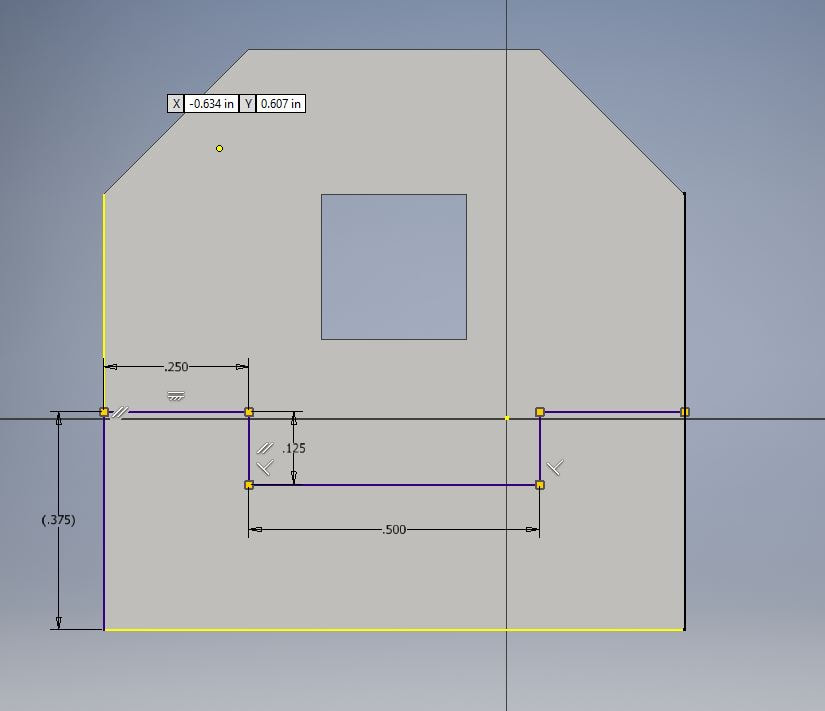
Step 4. draw out the basic shape for the extra extrusion and dimension the lines.
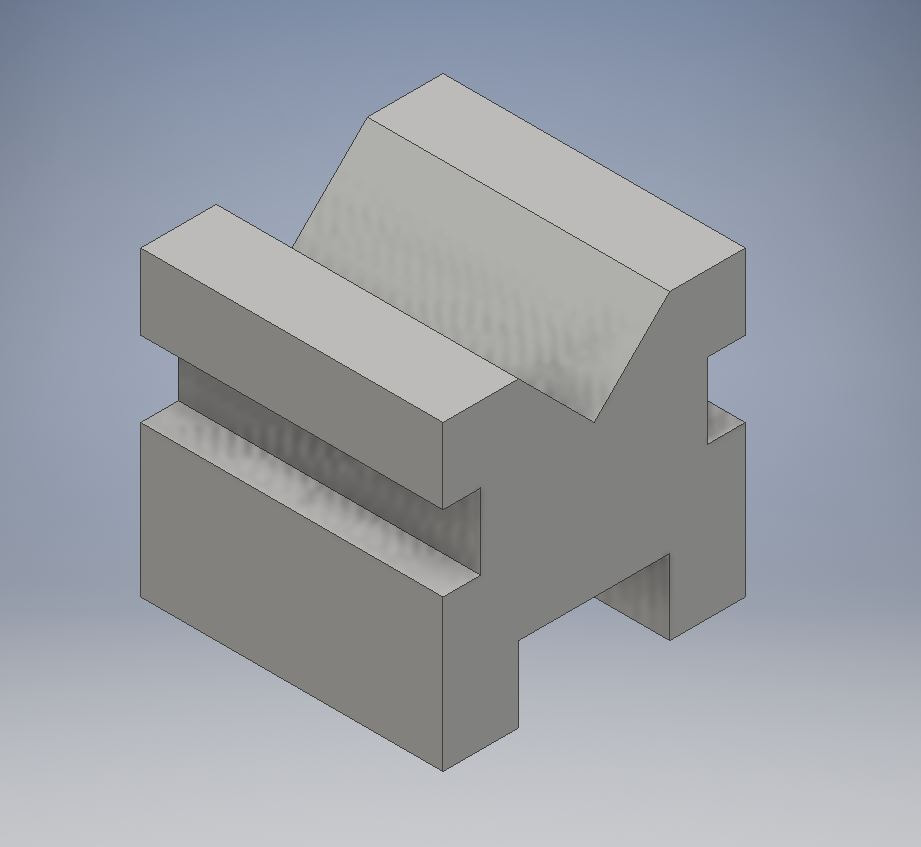
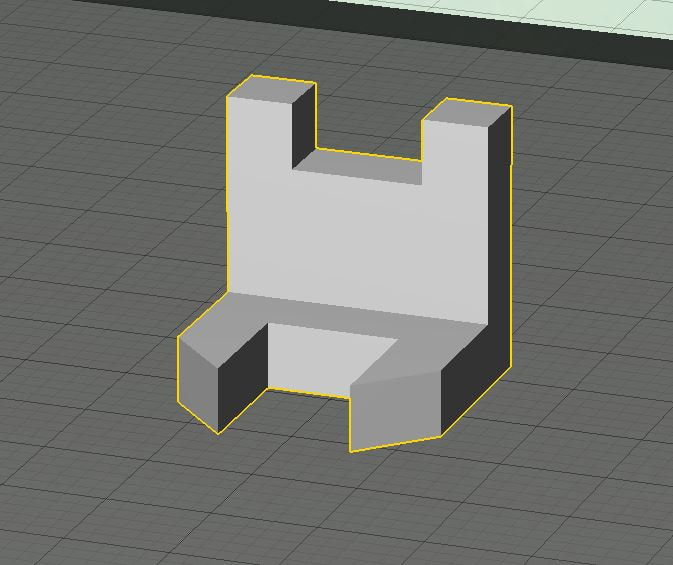
Step 5. Finish by extruding the newly drawn shape connected to the original structure.
Step 2. Extrude the basic shape, then draw out the hole in the center of the shape.
Step 3. Cut out the hole in the shape by extruding inside.
Step 4. draw out the basic shape for the extra extrusion and dimension the lines.
Step 5. Finish by extruding the newly drawn shape connected to the original structure.
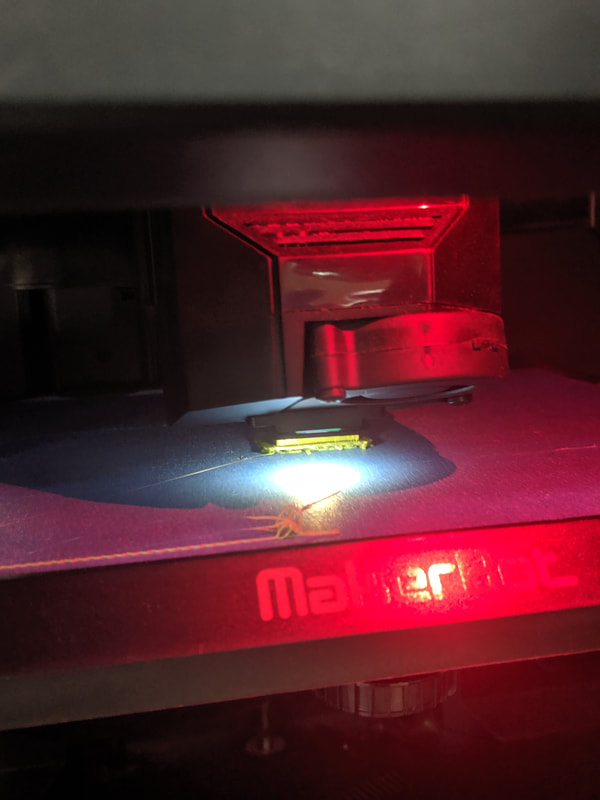
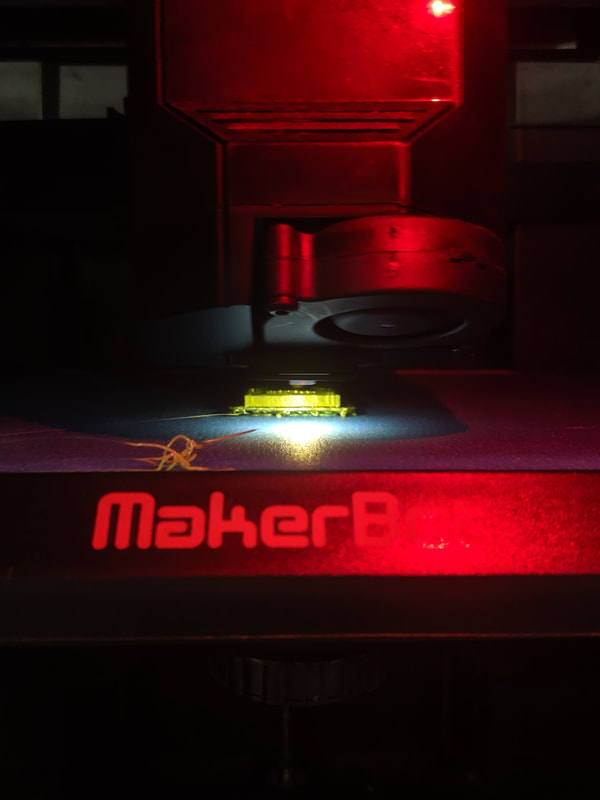
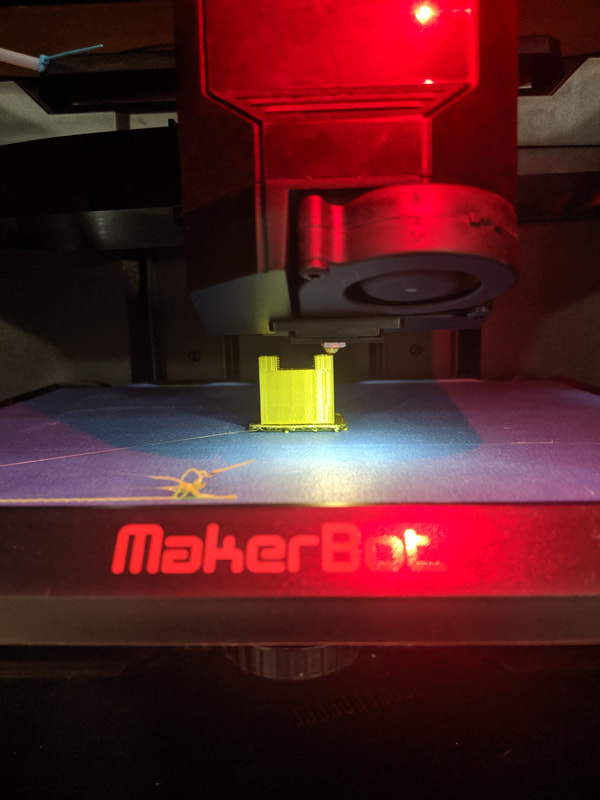
Maker Bot
|
|
Printing Process
|
|
|
|
|
|
What I learned
Throughout the course of the Inventor design process I learned a number of important lessons. To begin I learned that it is incredibly important to begin your drawing of a widget with the most complex part of the structure. For example, on a widget where there is a hole in the middle and an extrusion in another direction, I would begin with drawing the side with the hole as it would make the extrusion process significantly easier. Next I learned that you should go into your project knowing how you are going to design the structure. Winging your build and trying to go with the flow does not work on Illustrator as you will eventually get stuck on something you could have planned for earlier on. Finally, I learned that you should always make sure you have the orientation ready from the start because going back and trying to fix it in the end is significantly harder.
