Full Process


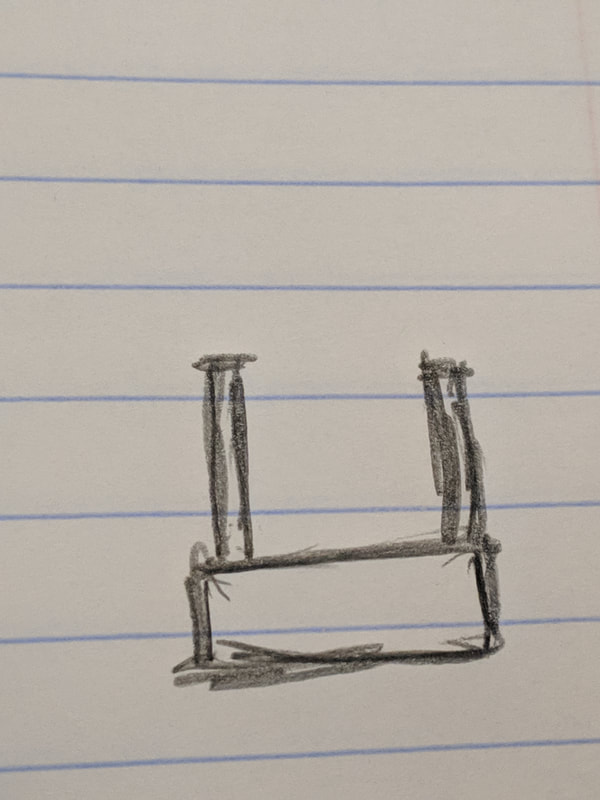
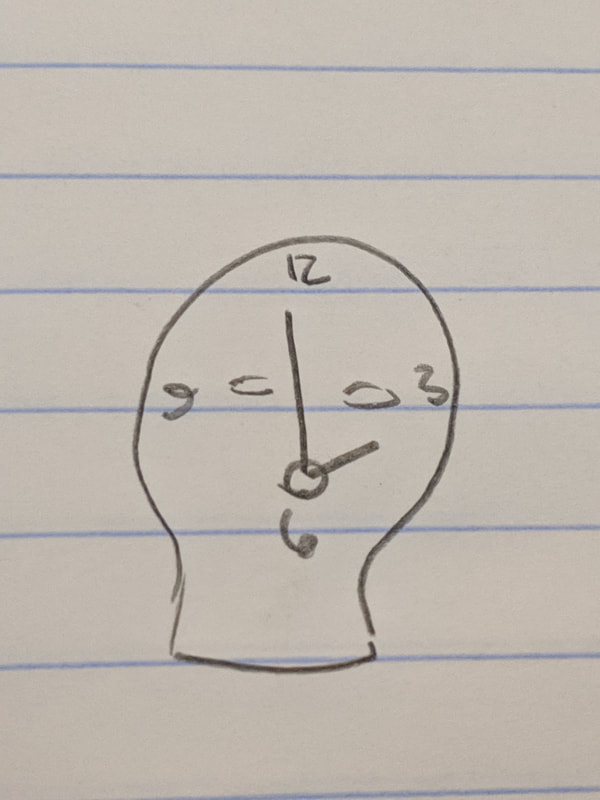
Sketches
Recipe
|
Steps
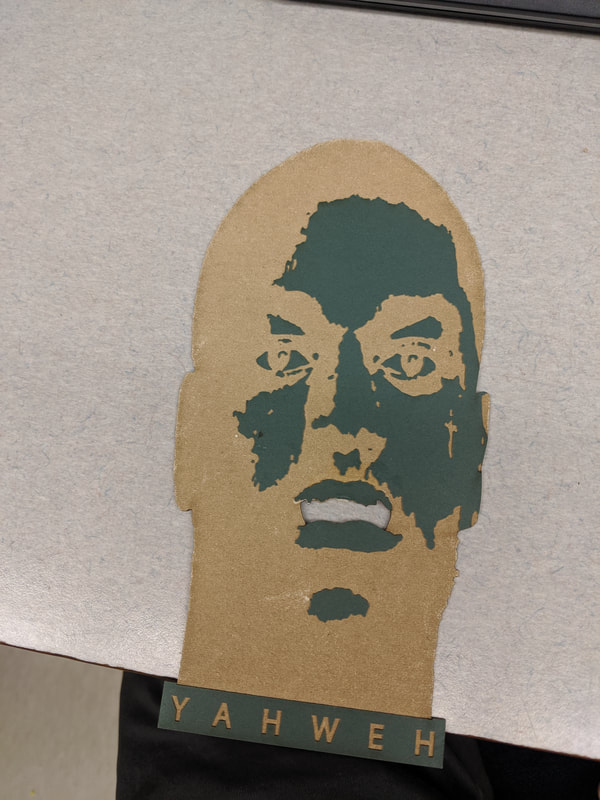
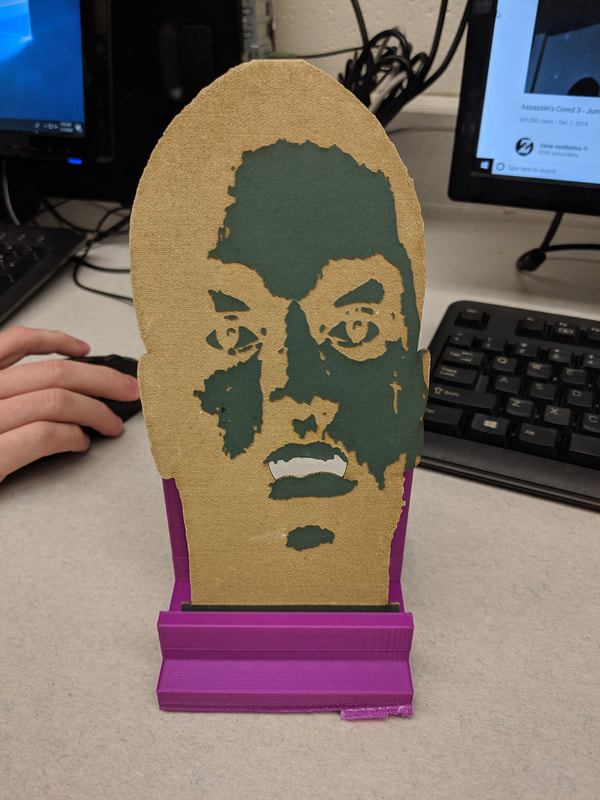
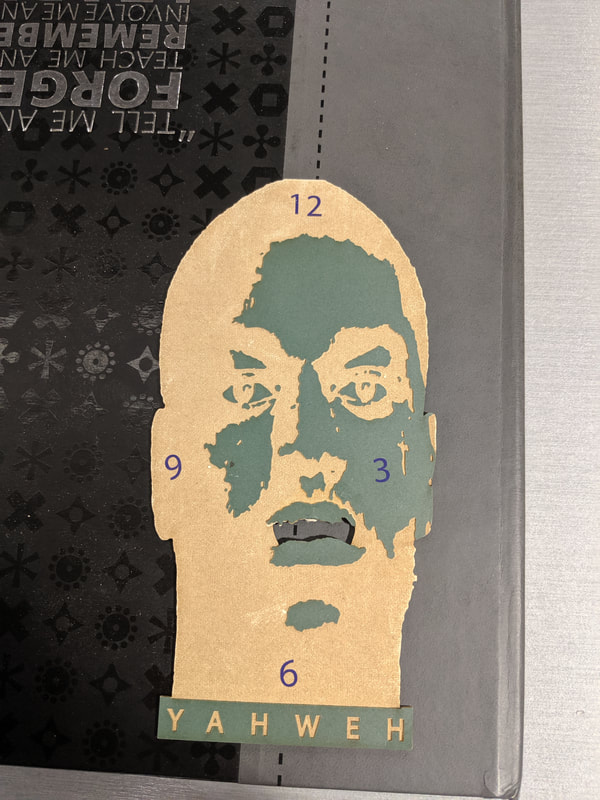
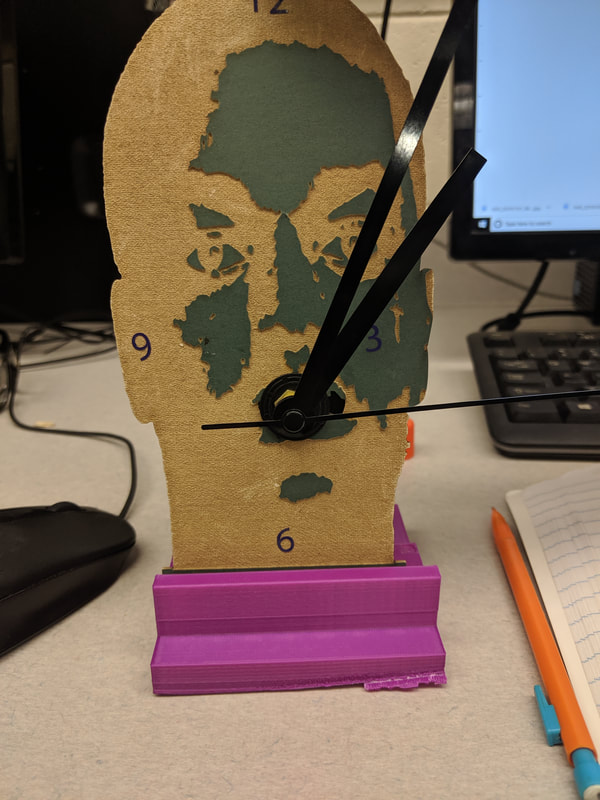
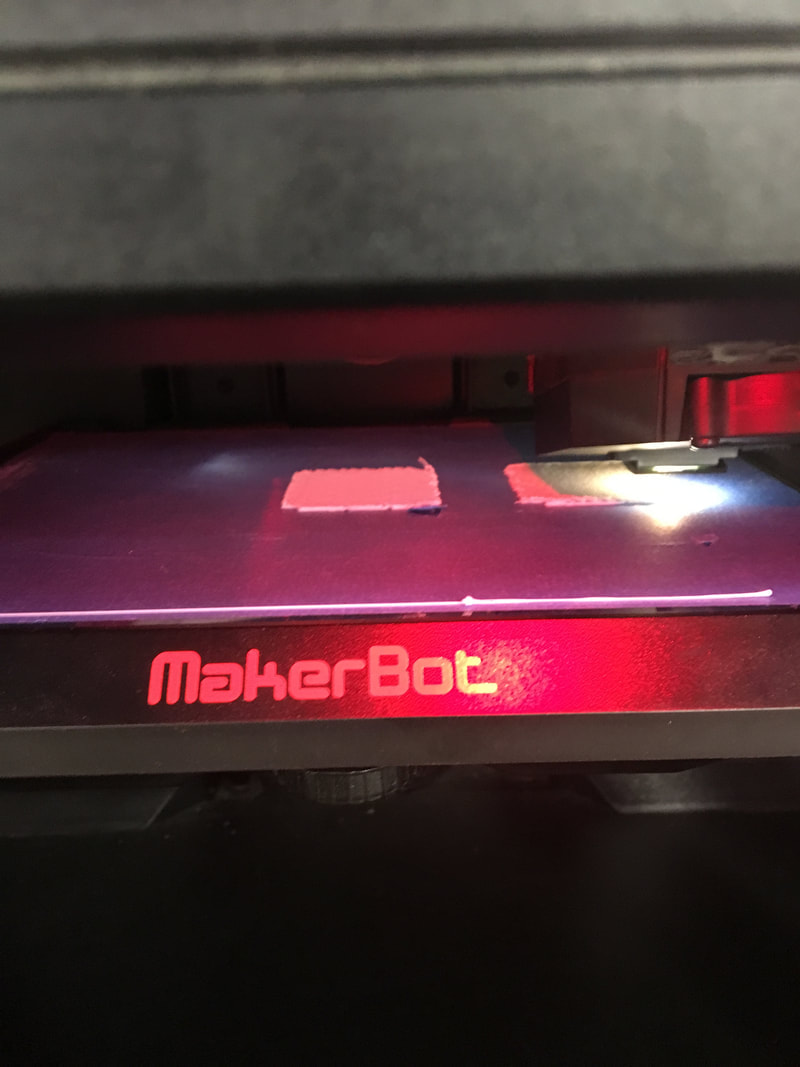
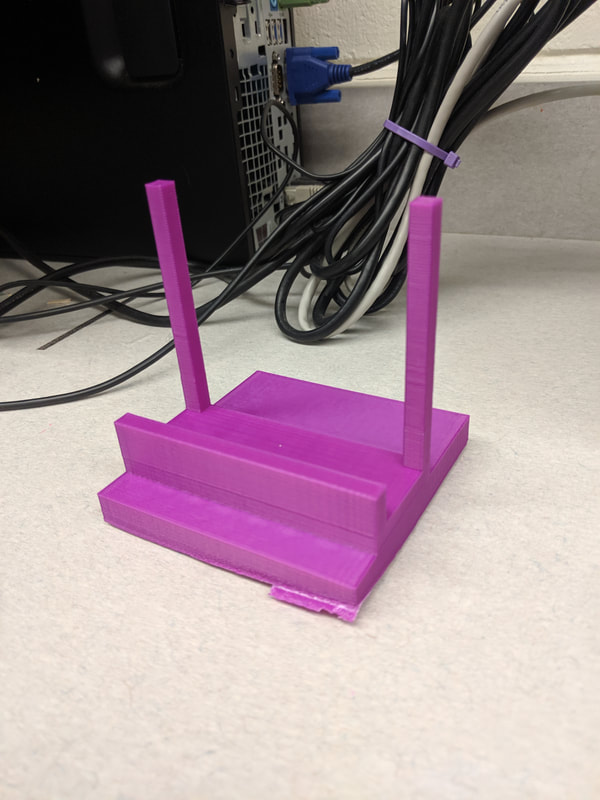
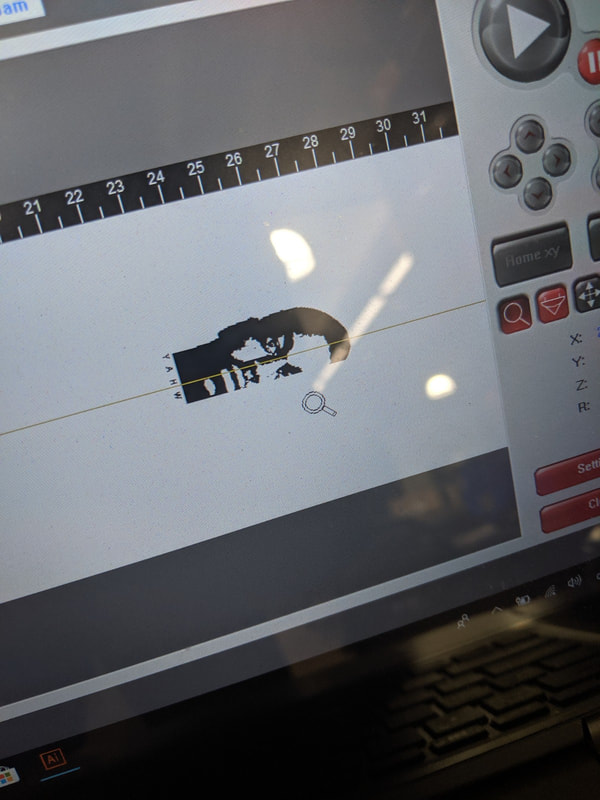
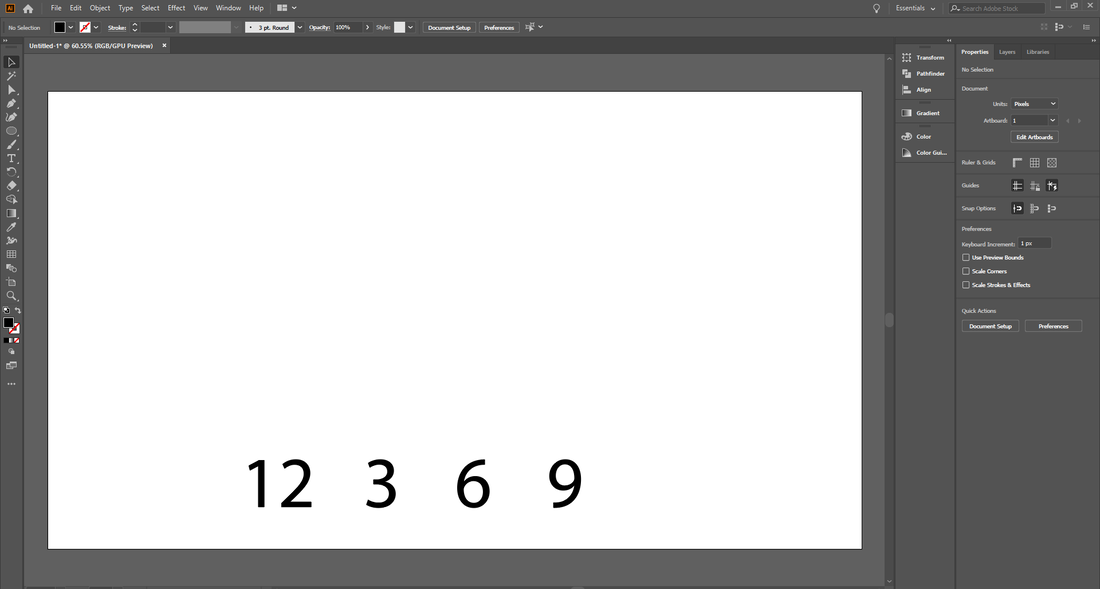
1. Draw a rough sketch of the desired design. 2. Design your stand using Inventor 3. 3D print the stand for the clock 4. Design the laser work for your clock on Illustrator 5. Laser out your design with the hole for the clock to go through 6. Design the vinyl numbers for the clock on Illustrator 7. Cut out the vinyl numbers out and transfer them to the finished clock 8. Place the clock on the stand and insert the mechanical piece into the hole 9. Assemble the mechanical piece to complete the clock |
|


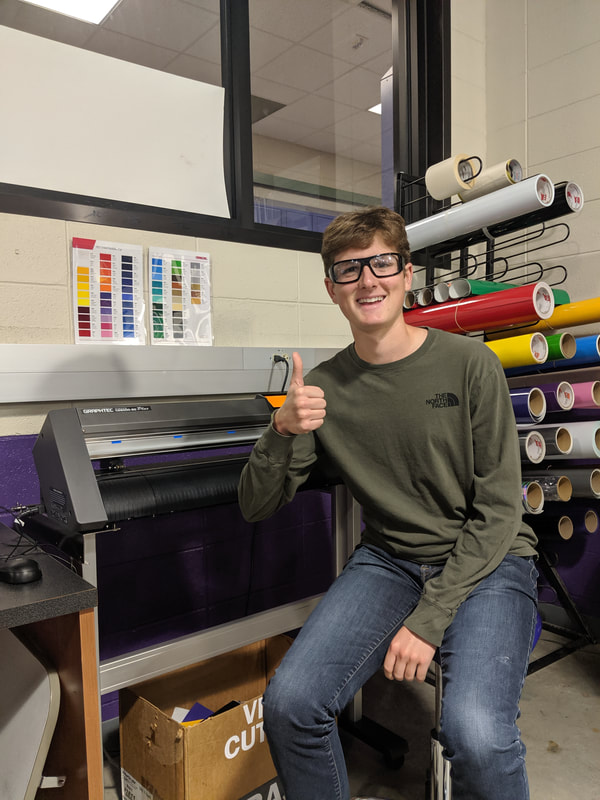
Digital
Setup

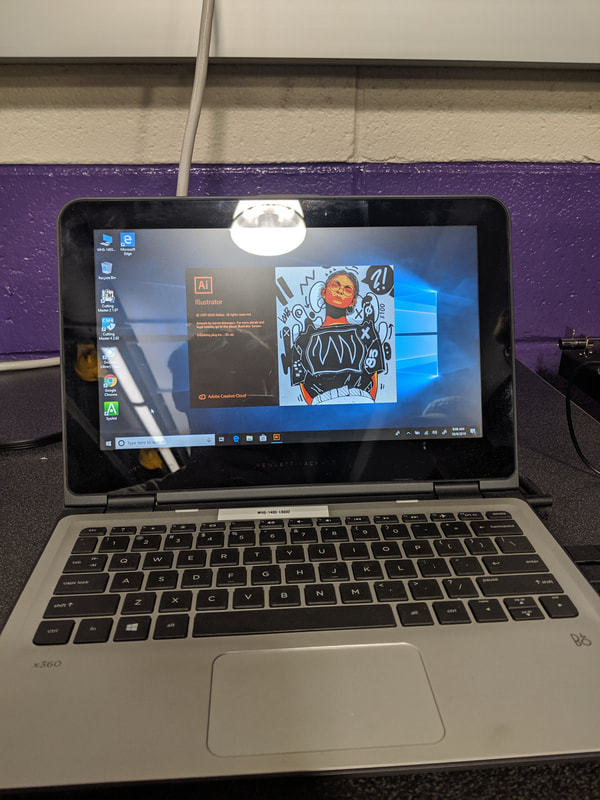
Me Working
|
|
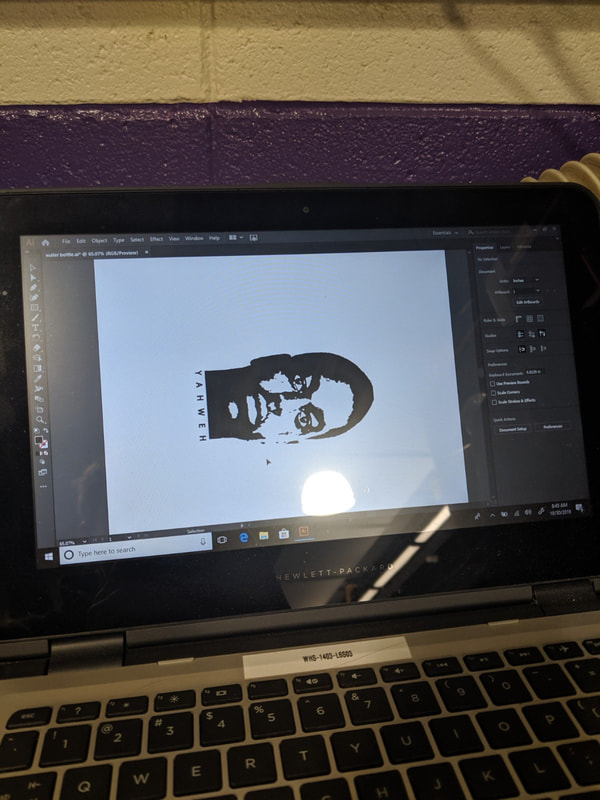
This is a picture of me working on opening Illustrator
|
Final Project Completed

What I Learned
During my final project I got to explore how each different tool in the lab can be used to make a cohesive piece. Before this project I never really considered how each tool could work in unison with the rest on a single project. I also learned from this project how important measurements are when working with multiple mediums. For example, when creating the stand for my clock I had to consider the thickness of the board I was using so that it would fit perfectly in its mount. In addition, when cutting the hole for the mouth on my clock i had to measure the diameter of the clocks central pivot point so that it could be inserted properly.
