Full Process

Recipe
|
Steps
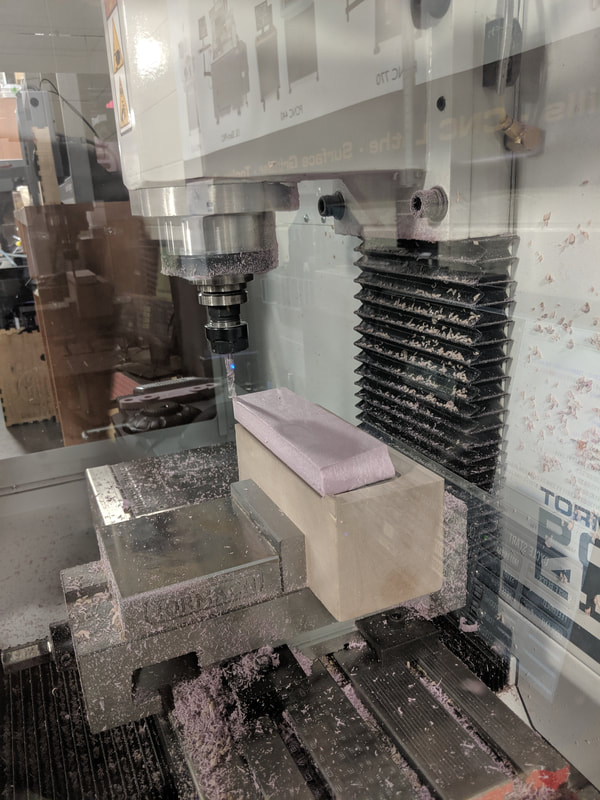
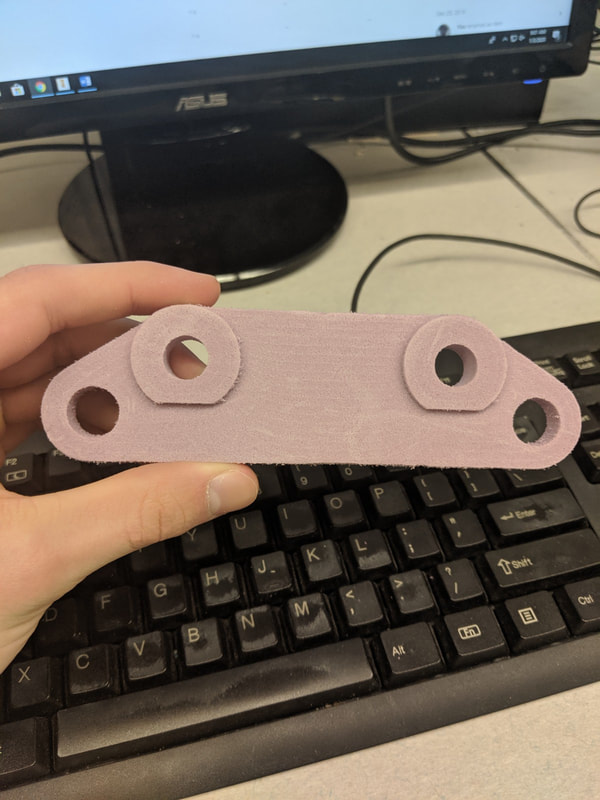
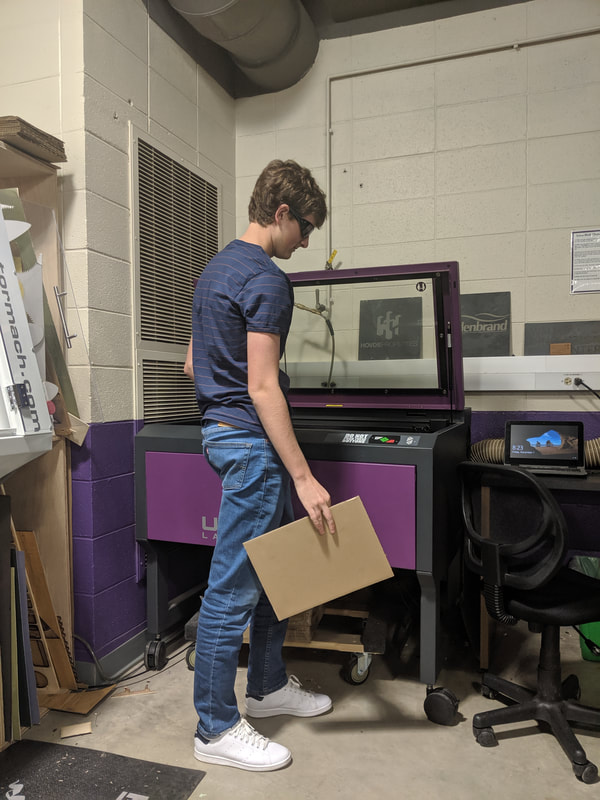
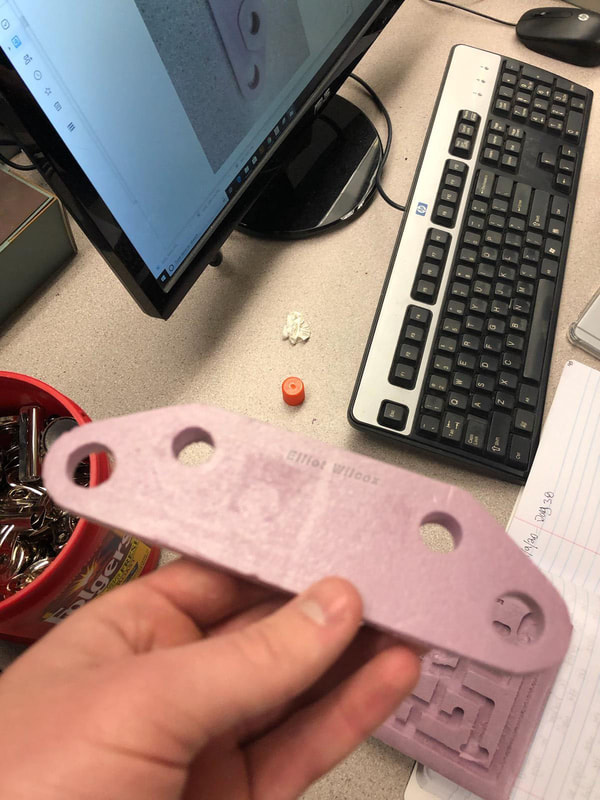
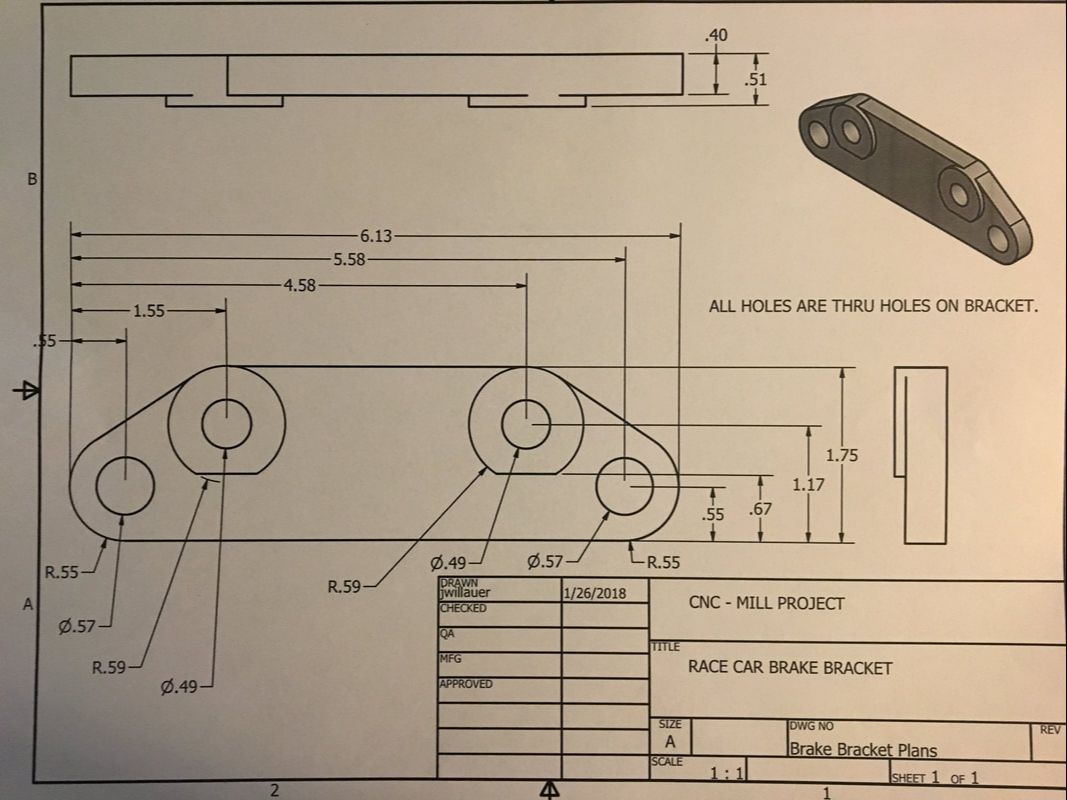
1. Analyze the blueprint for the brake bracket 2. Begin marking out dimensions on Inventor 3. Finish extrusions on the part and save it for Fusion 4. Open the part in Fusion and begin marking out lines so the program can design your mill path 5. Simulate the cut and select the proper drill bit 6. Save the file for the CNC Mill on your flash drive 7. Cut out and tape your foam to the router, line up the drill bit, then begin cutting out the brake 8. Laser your name into the brake bracket |
|
Digital
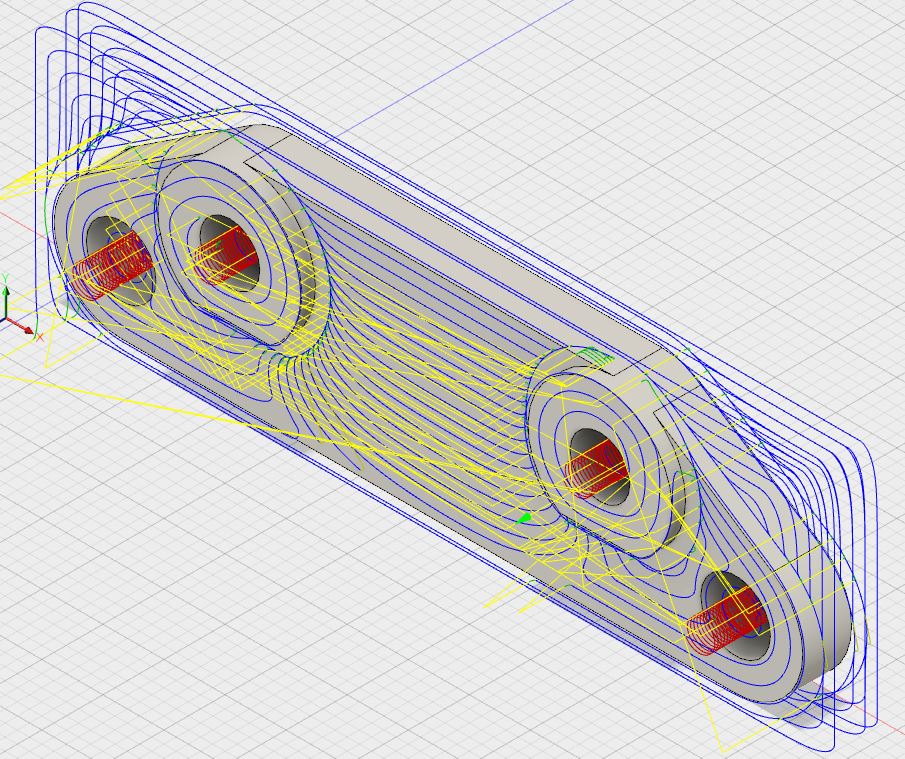
Fusion 360
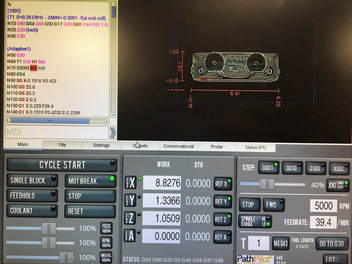
Mill Setup
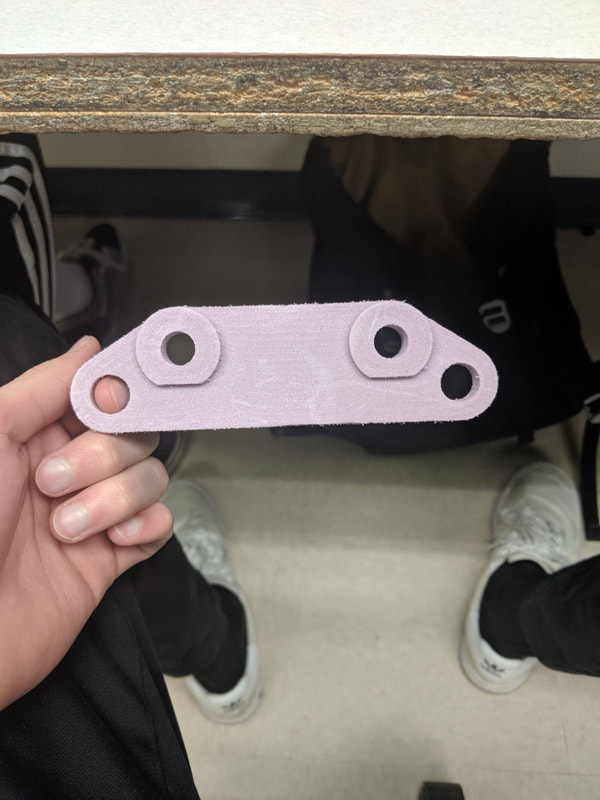
Final

What I Learned
During this brake bracket project I learned about reading blueprints. I learned some of this in 7th grade tech ed but this was a good refresher. I also learned how detailed and specific the process of preparing a part in fusion is. It took me multiple tries to finally get it right and there were many steps which went into completing it. Finally I learned that it is important to clean off the surface of the mill before placing the foam down as the remaining foam scraps may prevent the tape from sticking. This occurred for my part and as a result my first piece was ruined.
