Illustrator is a vector based graphic design program that uses geometry to create pixel-less images. Illustrator offers a number of different tools and settings to create your own layer based art work. The program can also be connected to a number of different programs and machines to produce tangible objects. For example, in our case Illustrator was connected to a laser cutter and a vinyl cutter to produce our own designs in 3D.
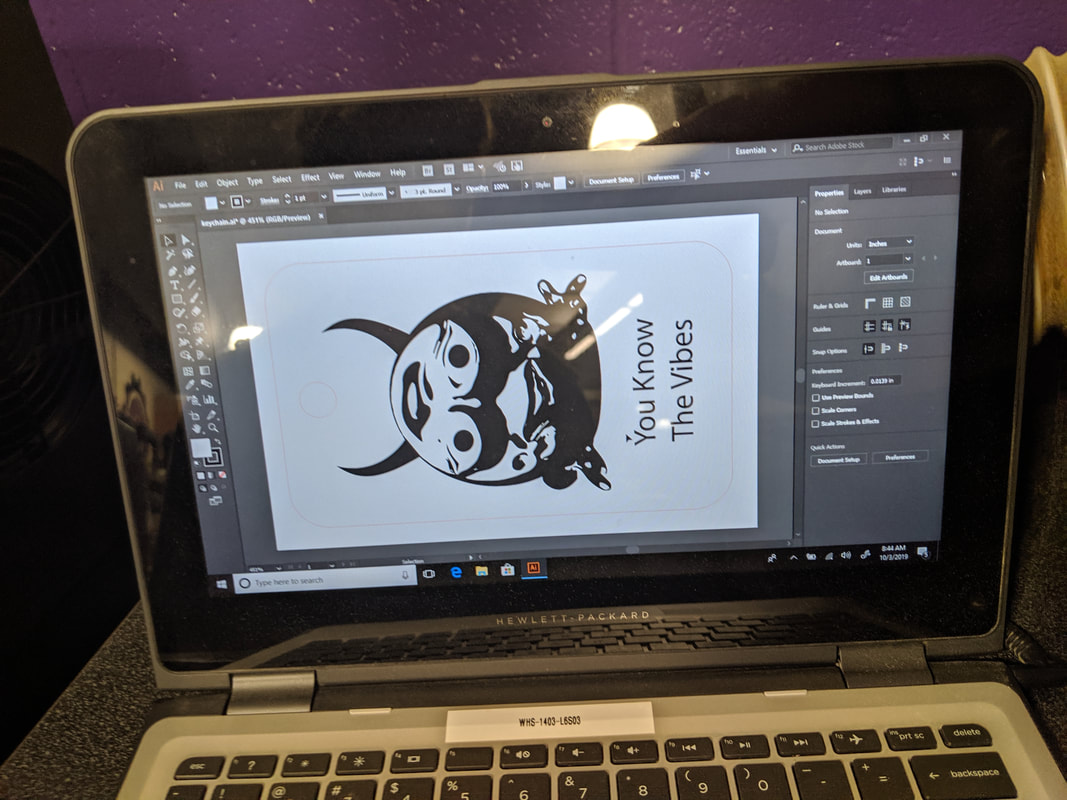
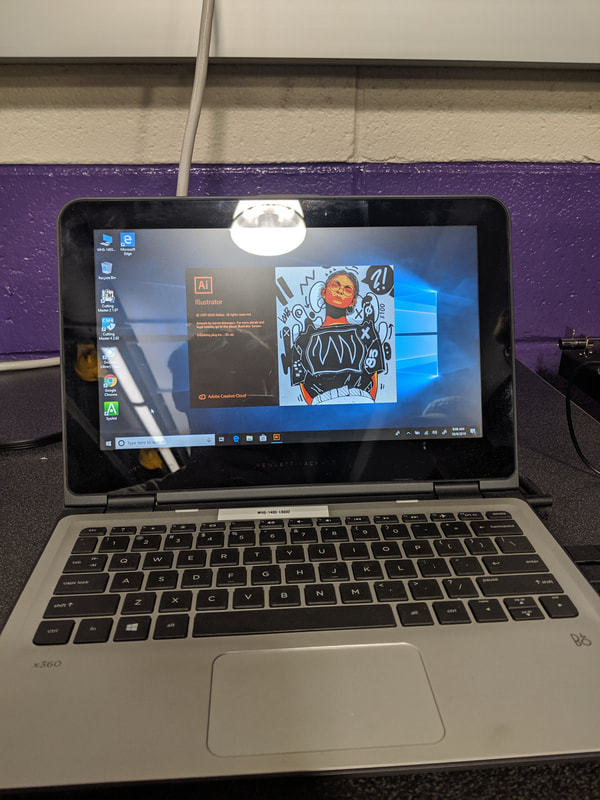
My Laser File
My Vinyl File
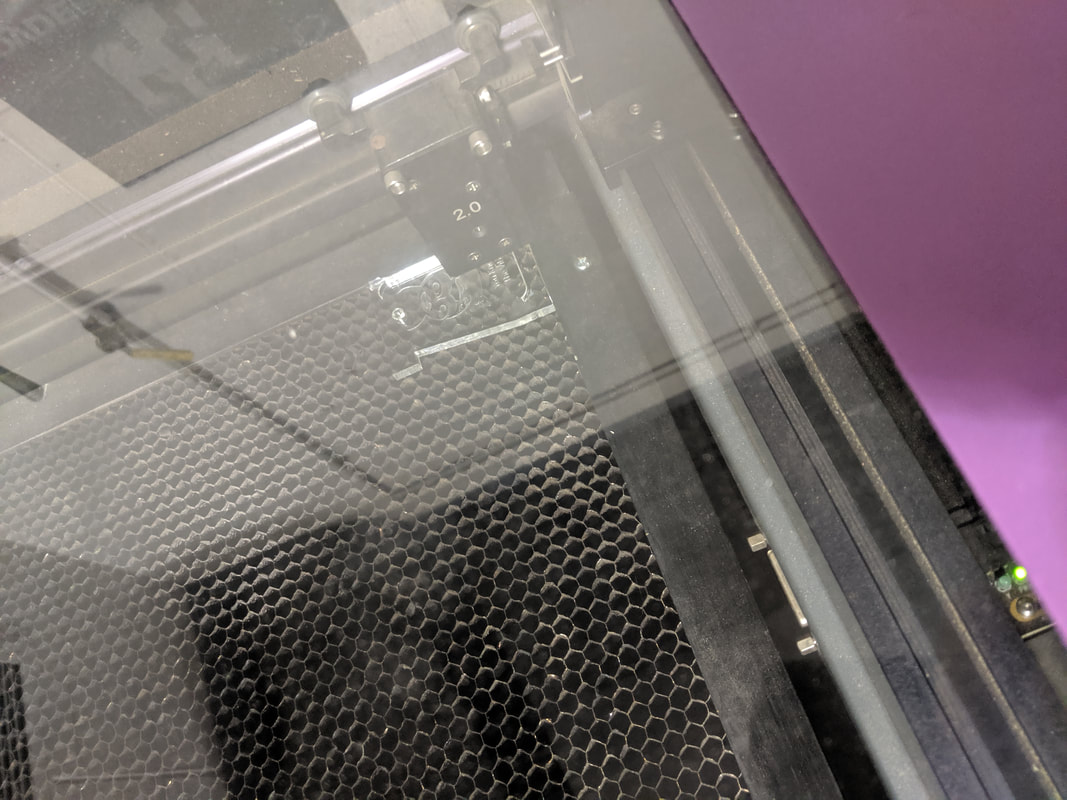
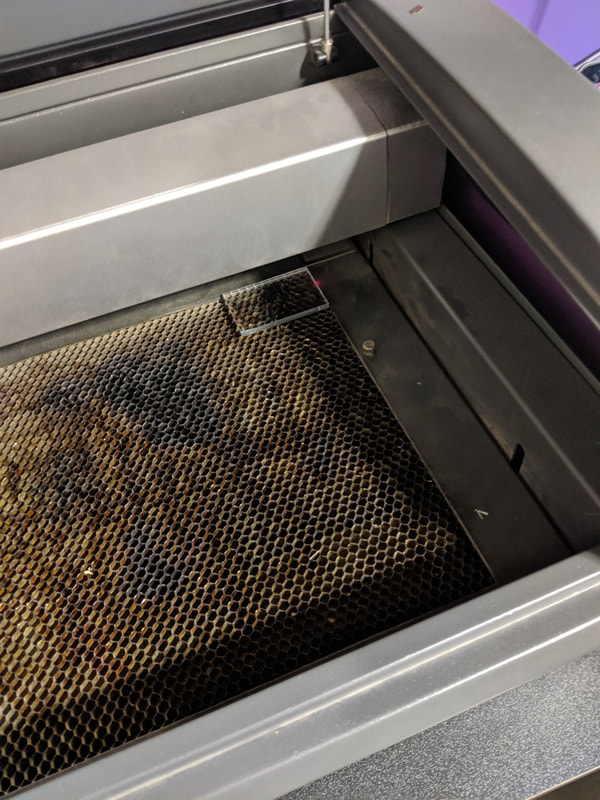
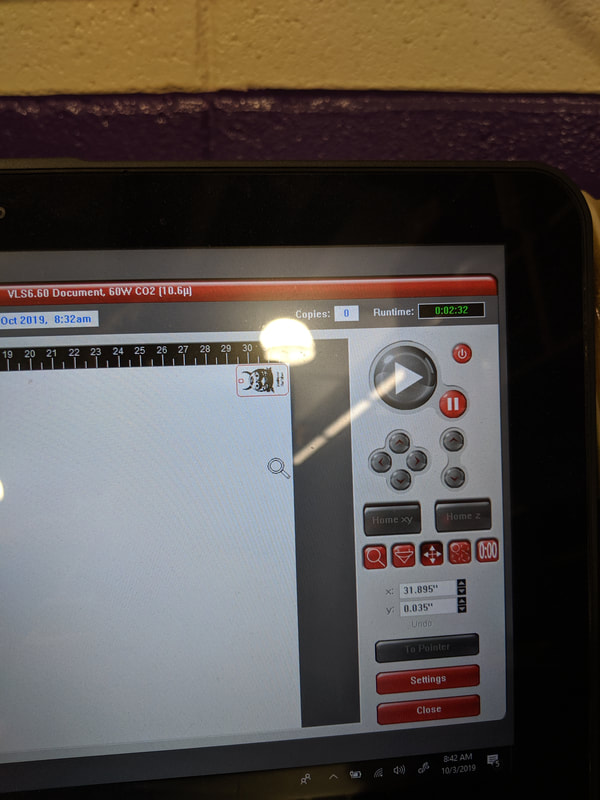
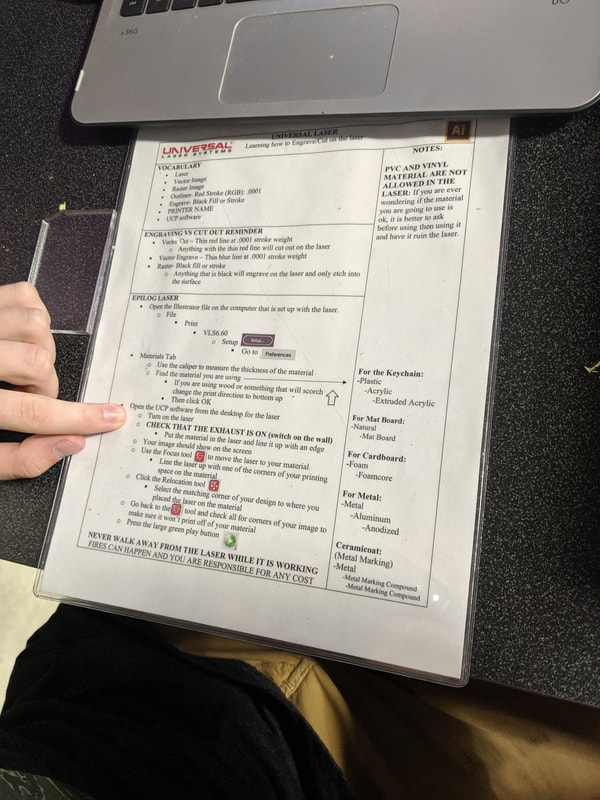
Using the Laser
Step 1: Open your created Illustrator file on the laser computer. Step 2: Hit print on Illustrator and select the acrylic specific cutting options Step 3: Continue to the laser cutting program Step 4: Align your measured acrylic with a side of the cutter Step 5: Click the locate button on the laser program to make sure the acrylic is aligned with the red laser Step 6: Once the laser is aligned with the corner of the acrylic and the cutting machine is ready turn on the exhaust, close the cover, and click the green play button
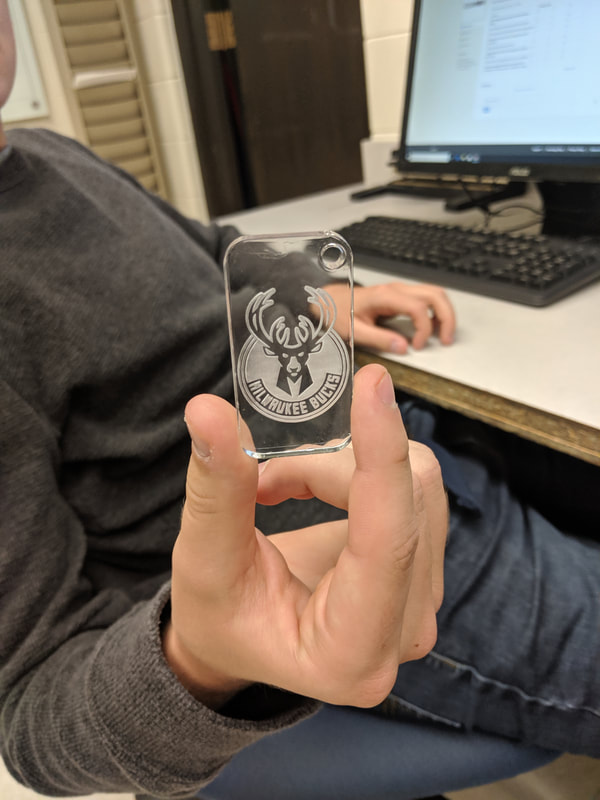
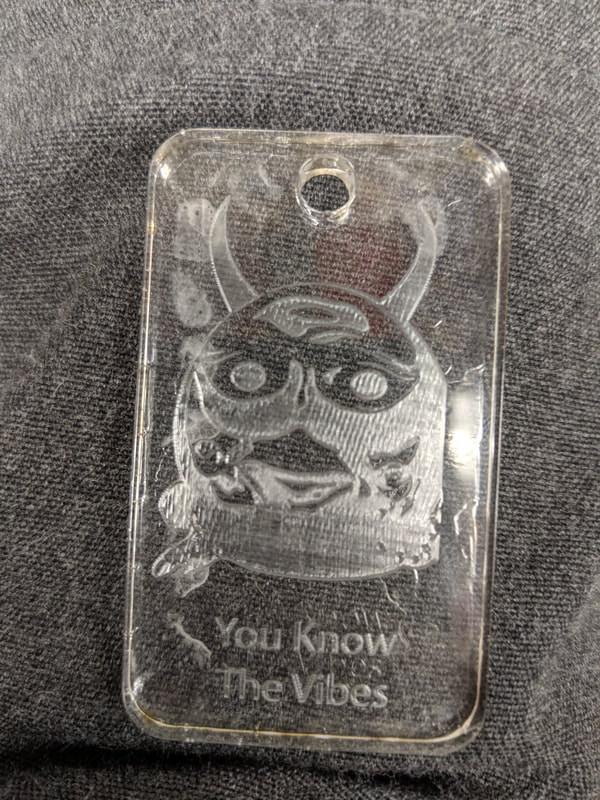
Key Chains
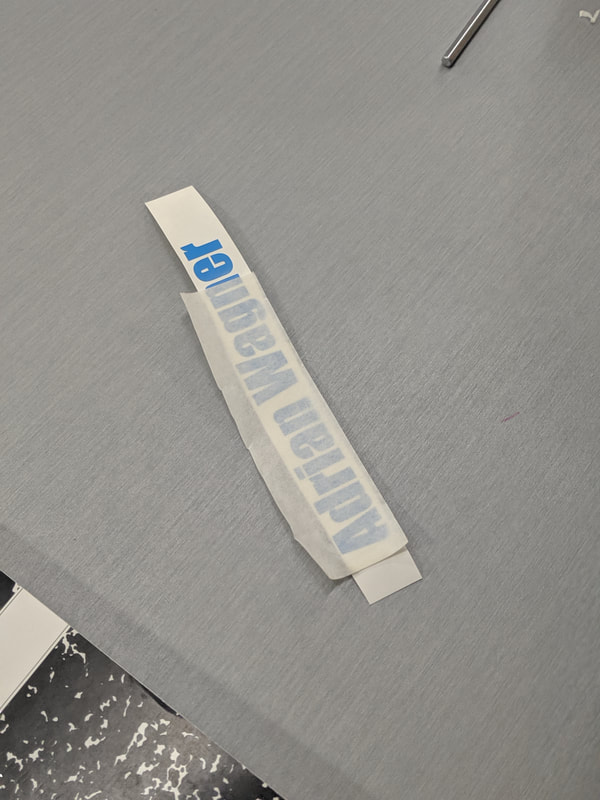
Vinyl Application
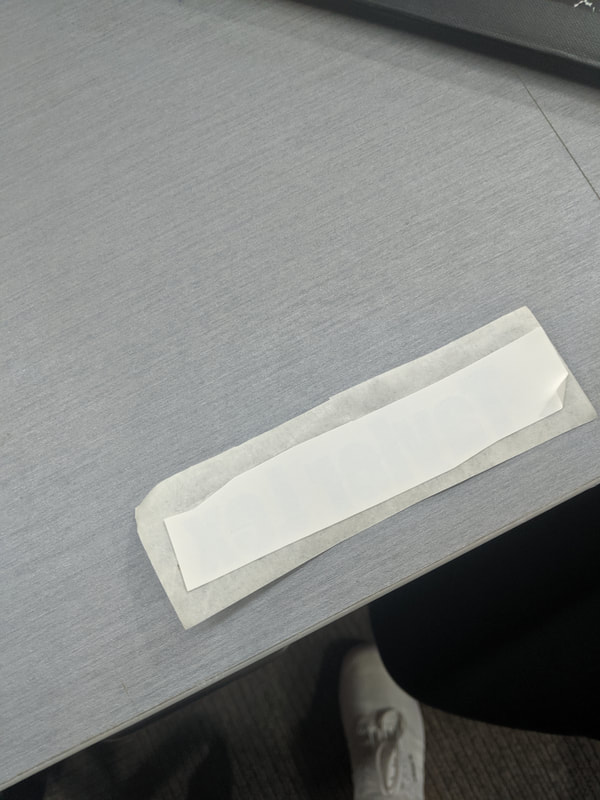
Step 1: Print your vinyl using the cutter Step 2: cut out your name from the sheet and remove excess vinyl using dentistry tools Step 3: Apply transfer tape to the words and use a squidgy to press the tape down firmly Step 4: Pull back on the tape at a 180 degree angle and remove the letters Step 5: Lay the tape down on the notebook and repeat the squidgy process Step 6: pull back again and remove the tape from the notebook revealing the vinyl
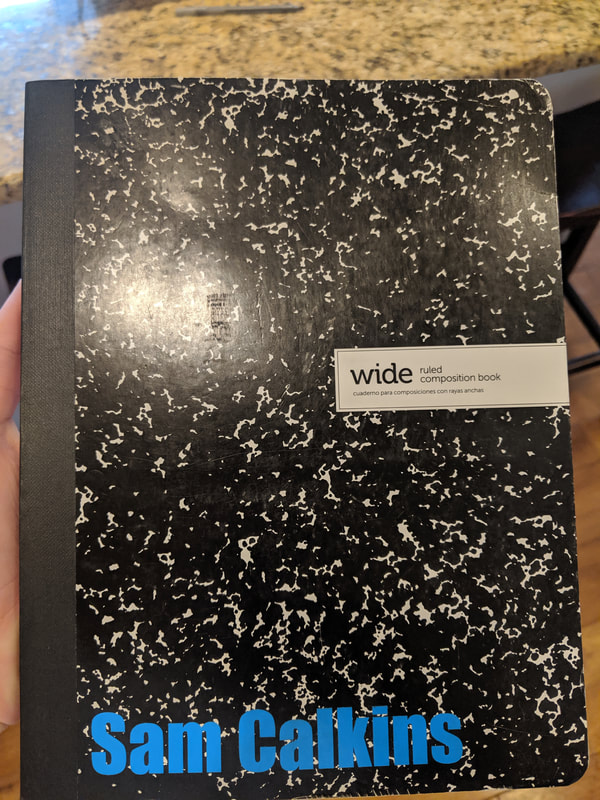
Vinyl on Notebook
What I Learned
What I learned while completing these assignments is that it is very important to be prepared when beginning the laser-ing process and the cutting process. If you try printing without your design properly prepared for cutting it will turn out horrible. Make sure to double check what is being cut and what is engraved and always line up the laser or you will lose part of your design while cutting. It is also important to make proper measurements. Without measuring the thickness of the acrylic or the size of the of the vinyl sheet the cuts would not have been made properly and my projects would have been ruined.