Full Process
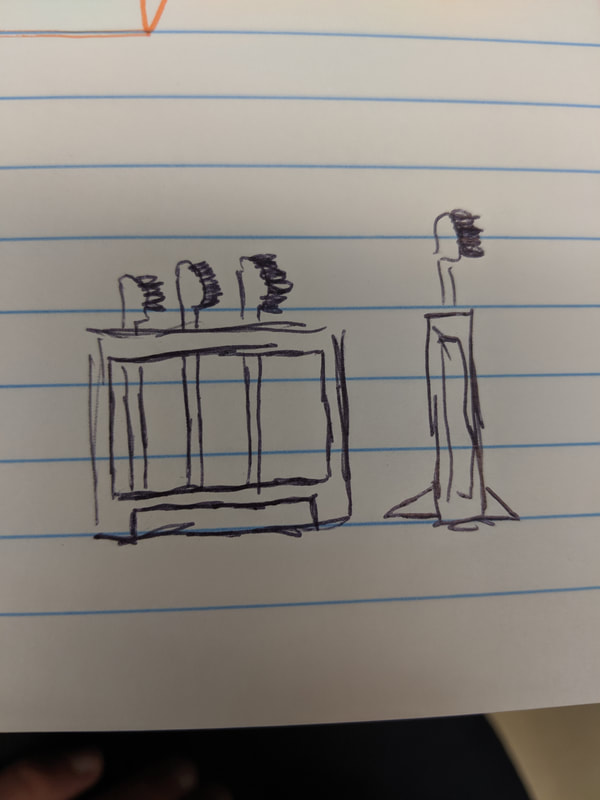
Sketches
Recipe
|
Steps
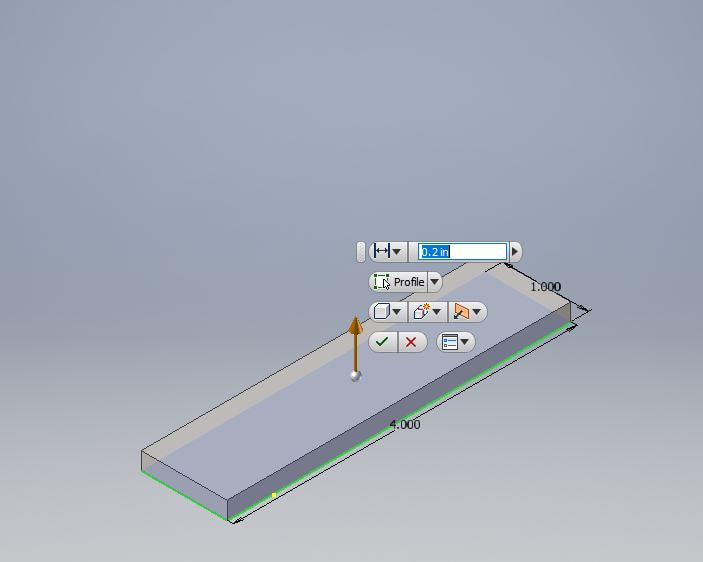
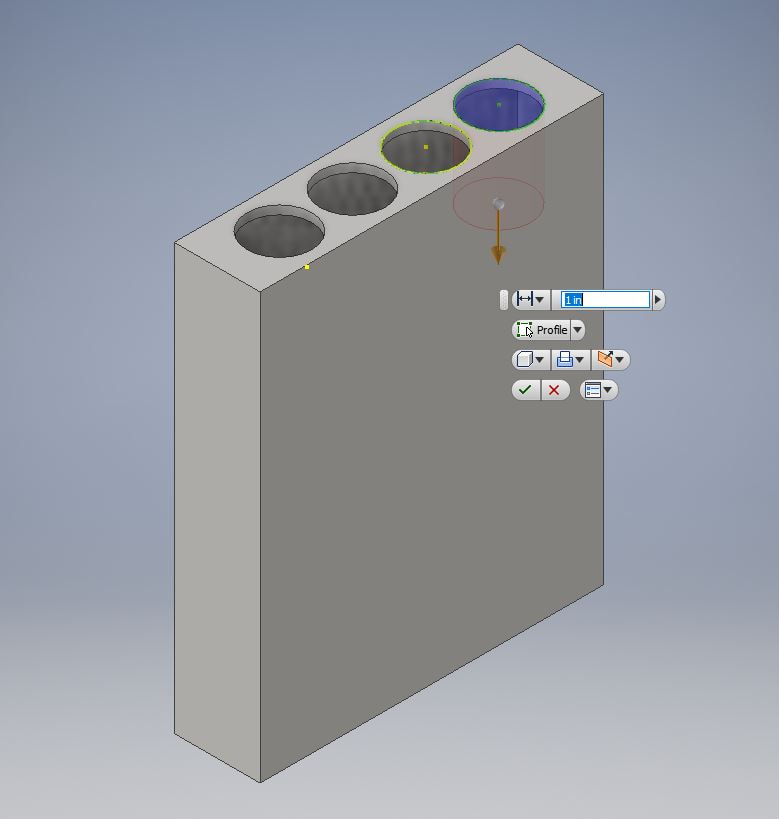
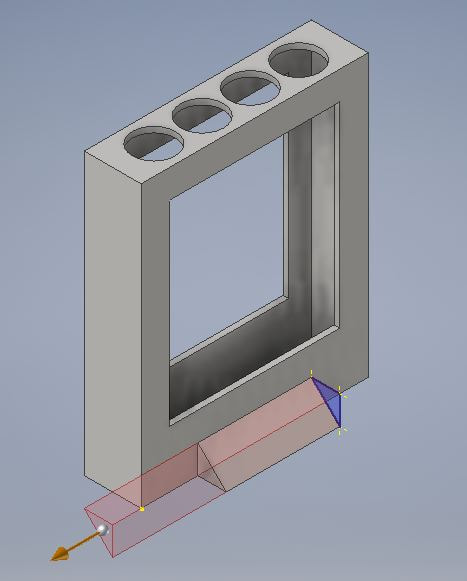
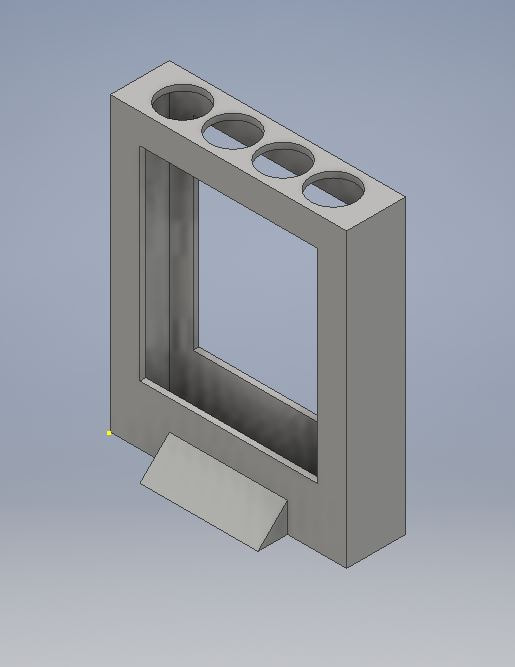
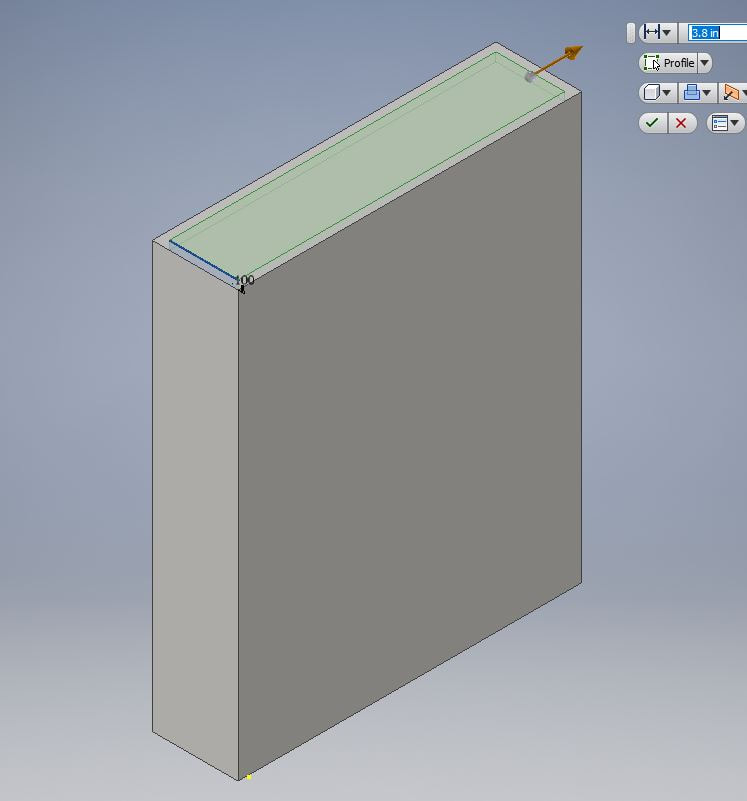
1. Draw a rough sketch of the desired design. 2. Design your object to the desired scale using Inventor. 3. Save your design and export it to makerbot. 4. Change the orientation and scale of your design and save it as a makerbot file. 5. Bring your file to the 3D printer and prepare the filament. 6. Select your file and begin printing. 7. Be patient and admire your wonderful creation once it is complete. |
|

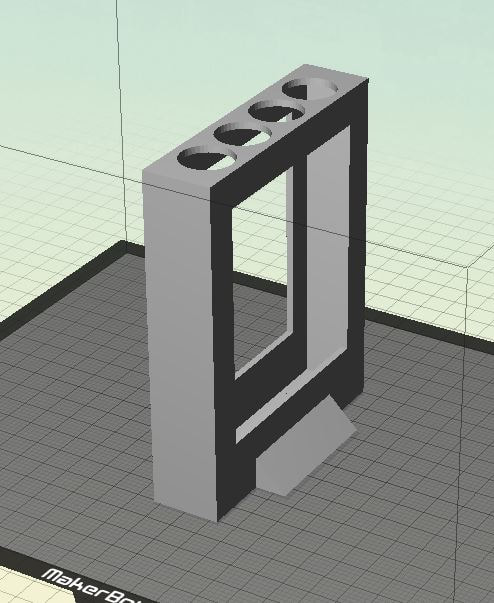
Digital
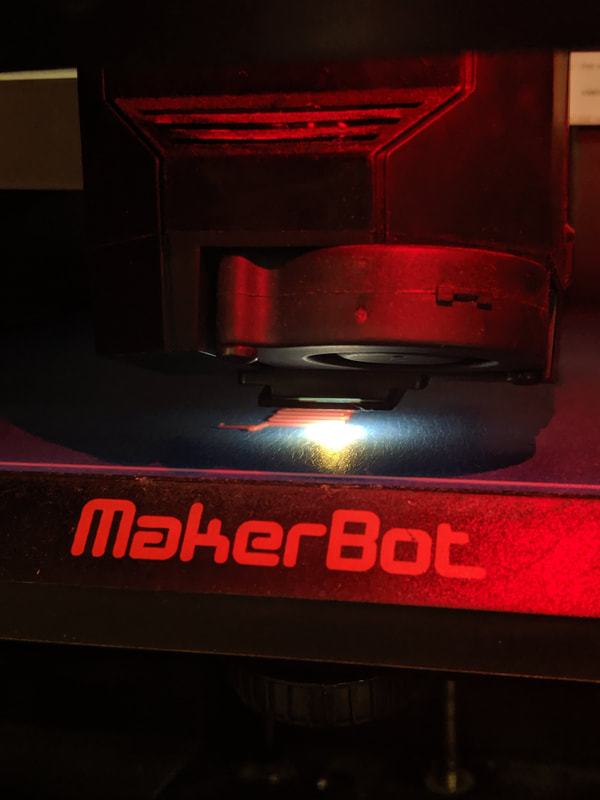
Makerbot Setup
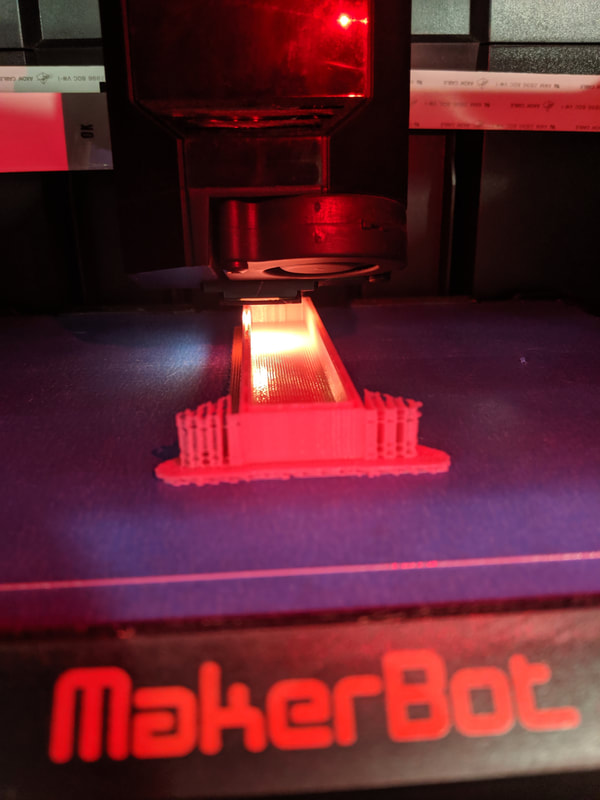
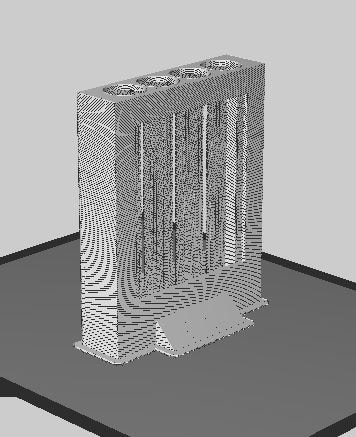
Preview
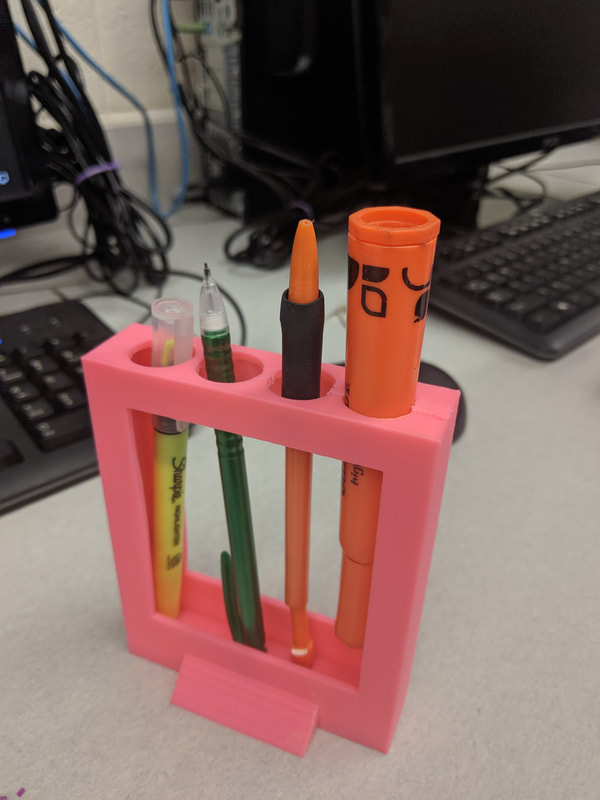
Final
What I Learned
During this 3D printing project I learned that it is very important to change the orientation of your object in makerbot before printing. If the object is oriented so there are multiple overhangs it will require many supports. This can look repulsive and somewhat disappointing so avoid such an outcome at all costs. Some supports can also be hard to reach making them nearly impossible to remove and therefore a permanent feature of your model. Again, avoid this at all costs.
